Working conditions
Identify temperature, contact fluids and repeated movement.

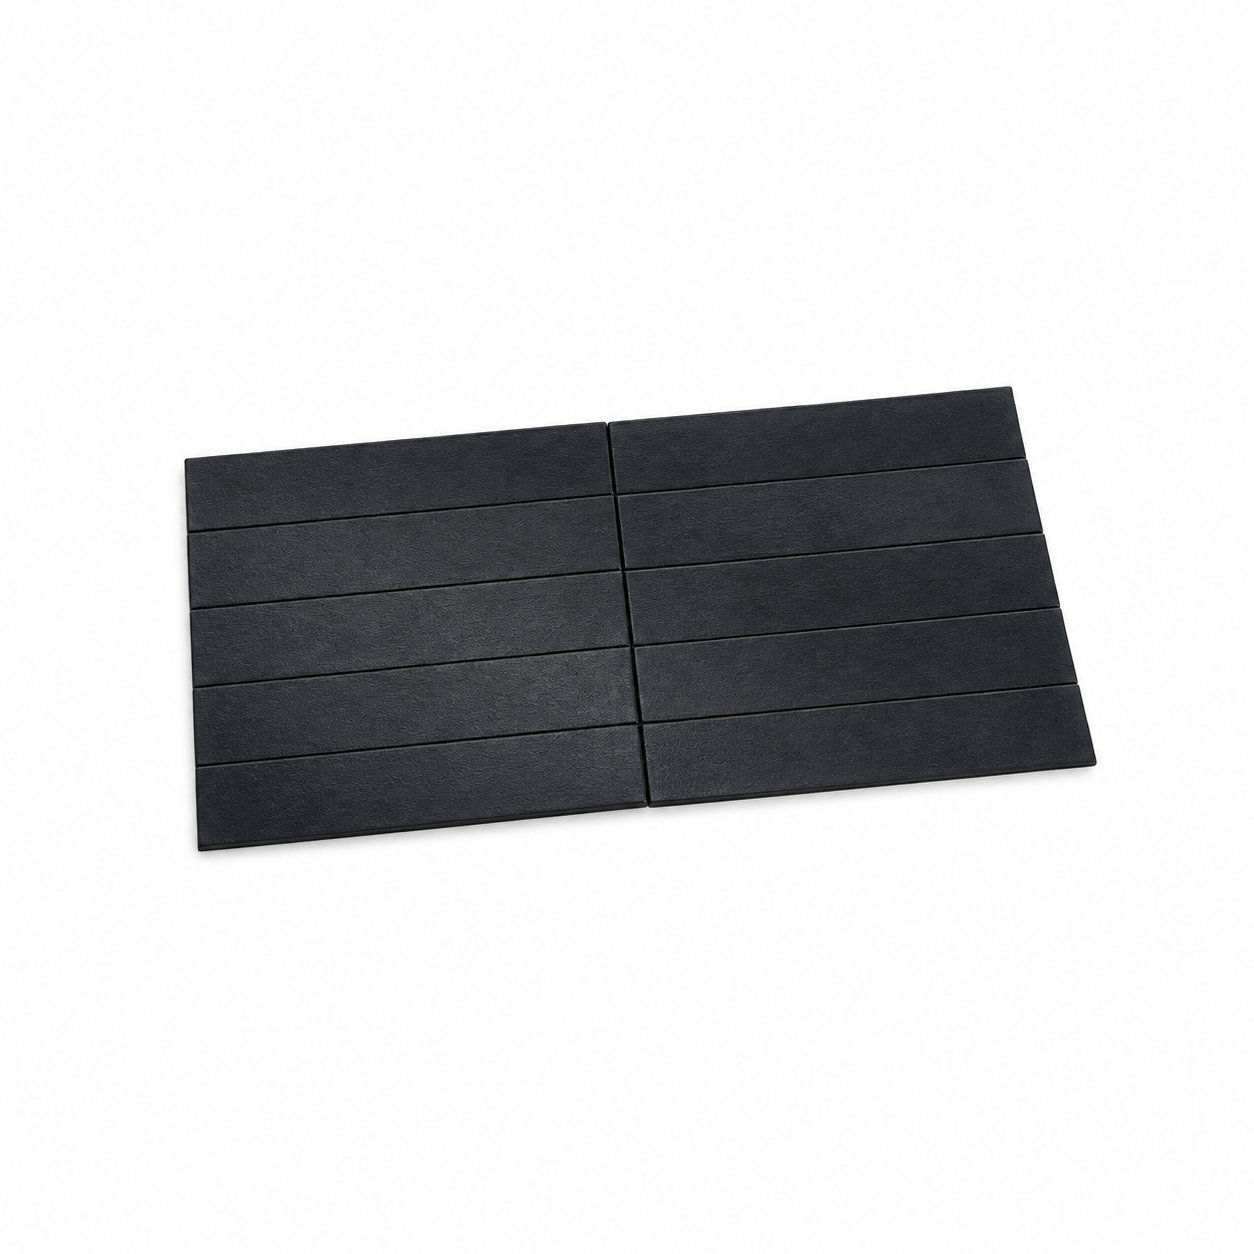
Custom manufacturing example · adhesive rubber strip rectangular rubber bumper
CUSTOM RUBBER & SILICONE MANUFACTURING
A custom component for your assembly.
Define the mating surfaces, dimensions and working conditions. ETOL manufactures the part to the agreed design and material.
Share the part, its application and your estimated quantity.
Selected for the contact, temperature and movement
Define the visible surfaces and intended color
Develop holes, lips and walls around the mating parts
Match the attachment and installation method
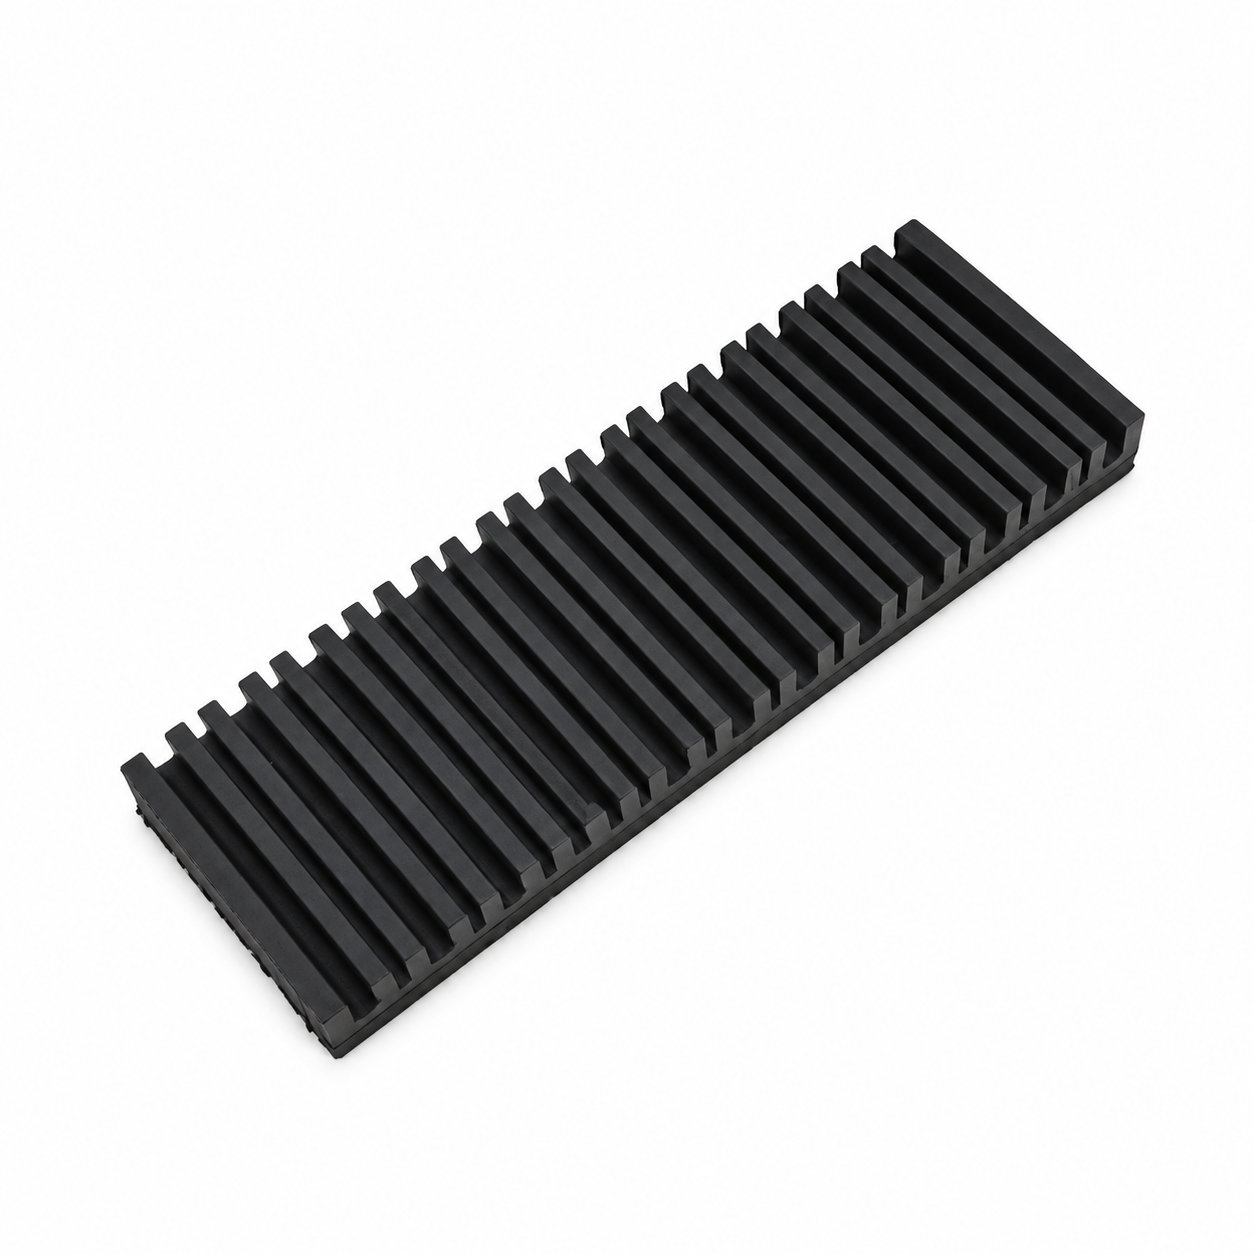
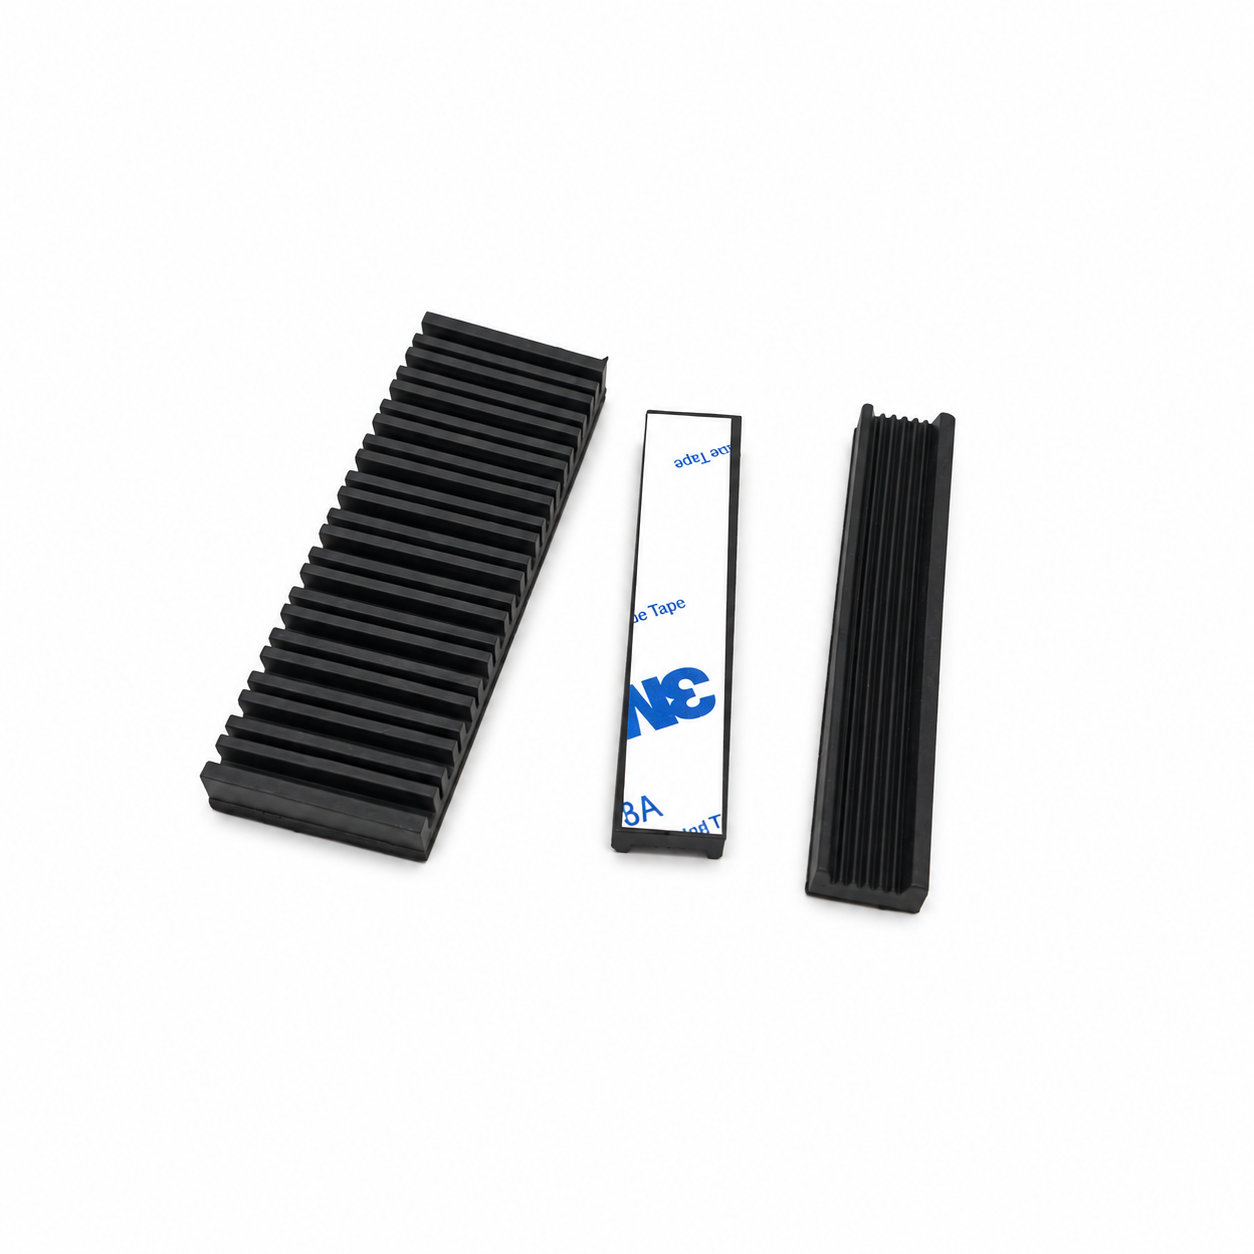
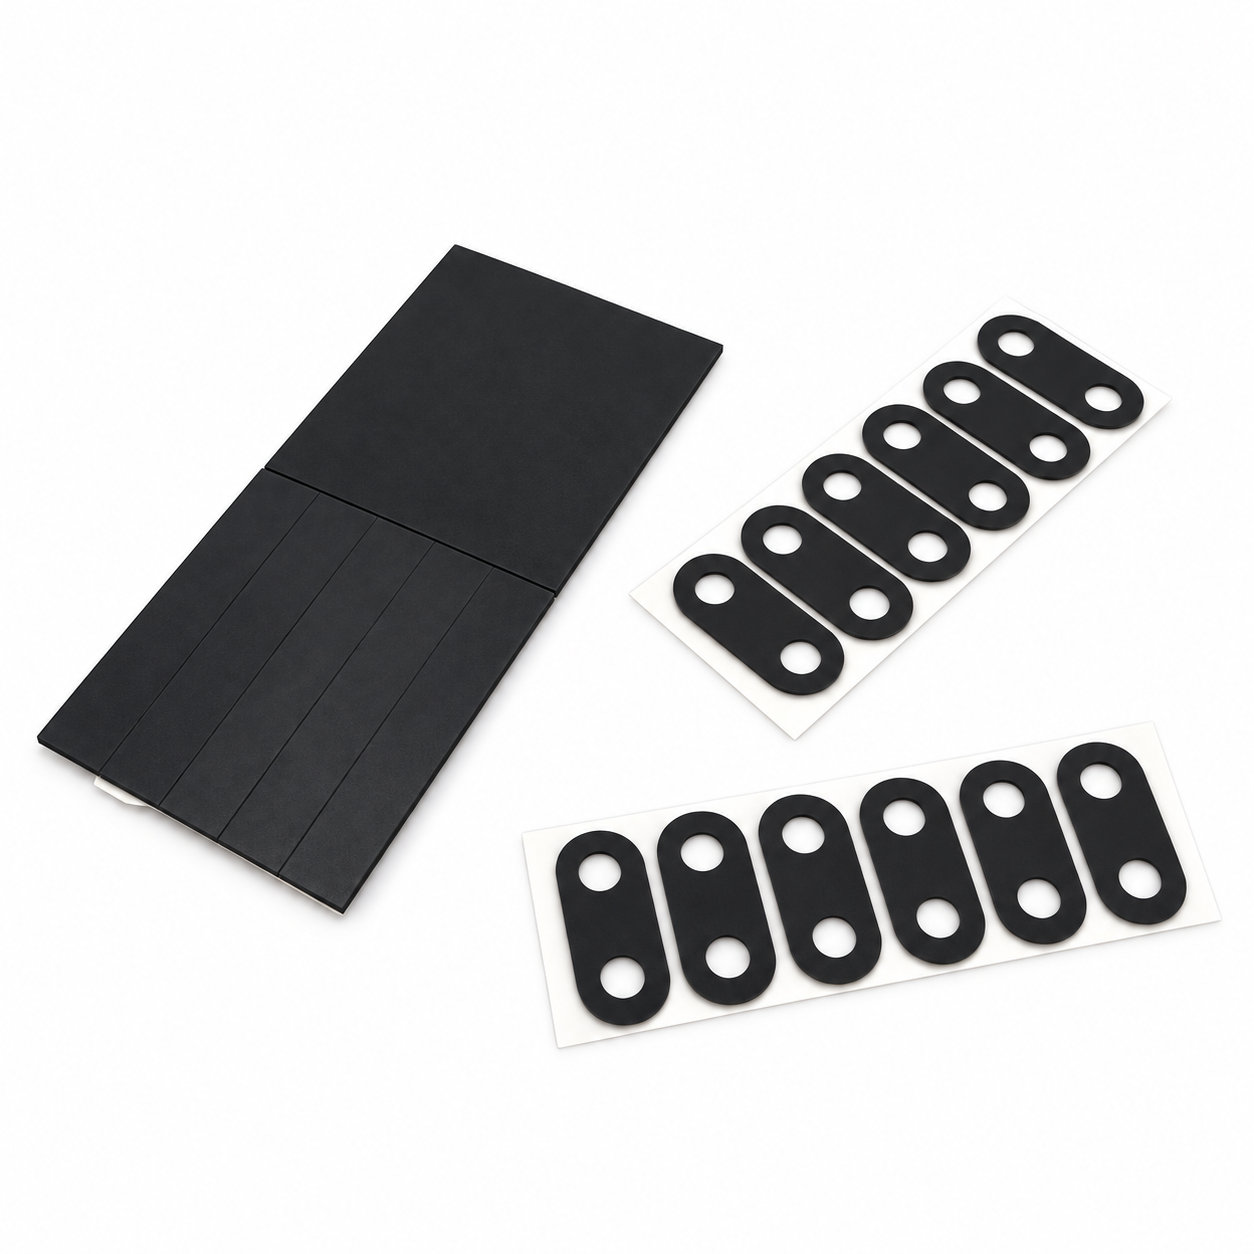
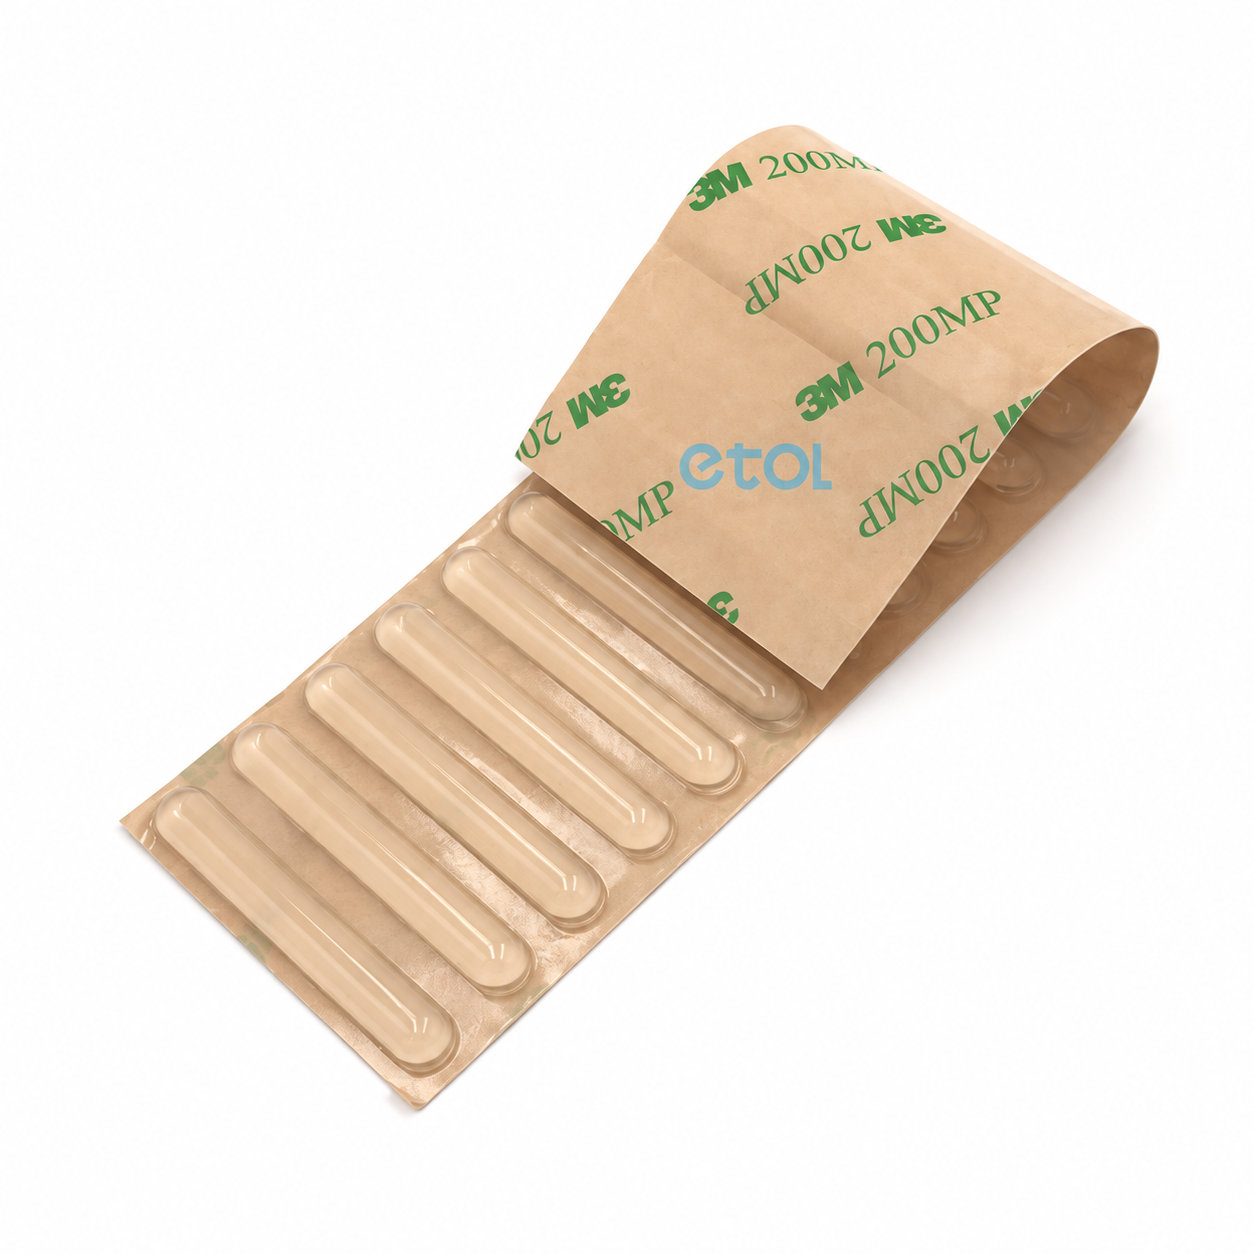
An adhesive rubber strip provides an elongated cushioning interface that can be positioned along a matching contact area. The rectangular format is useful where a continuous line of contact is required rather than a set of separate small pads. Its performance depends on both the rubber section and the bond to the surface beneath it, so the backing should be specified together with the strip geometry.
Measure the available length, width and gap at the intended position. Check whether the mating surface approaches evenly along the strip or contacts one end first. A long section can be compressed differently across its length if the surrounding panels are not parallel. Include any corners, joints or surface features that could interrupt the bond or prevent the strip from lying flat.
ETOL lists custom dimensions, material, hardness and color for this product. Describe the substrate, its finish and the environment when discussing the adhesive. Painted metal, plastic and other surfaces may need different preparation or backing choices. Confirm the recommended application conditions and any waiting period before the strip is loaded. The presence of adhesive alone does not establish a bond suitable for every material or temperature.
Apply the adhesive rubber strip to a clean, prepared surface using a guide or reference edge to maintain alignment. Avoid stretching it during placement, since tension can affect the ends after application. Keep fingers and dust away from the exposed bonding face, and follow the agreed pressure and settling instructions for the selected backing. During use, inspect the ends for lifting and check whether the rubber is being sheared sideways by the contacting part. For a custom inquiry, provide the installed cross-section and the substrate specification as well as the strip dimensions. This allows the contact function and attachment method to be evaluated as one component.
Photos illustrate structure or material only. A long section can be compressed differently across its length if the surrounding panels are not parallel. ETOL directly manufactures custom-shaped silicone and rubber parts to your requirements.
Identify key dimensions, mating surfaces and quantity
Agree the compound and manufacturing approach
Review the fit and agreed requirements in the assembly
Manufacture and check against the approved requirements
Identify temperature, contact fluids and repeated movement.
Consider hardness together with wall thickness and support.
Check access, mating dimensions and the fitting sequence.
Yes. Show the receiving opening, contact surfaces and clearance limits. We can review the dimensions and retaining features around the intended fit.
Agree the critical dimensions, material, hardness, visible surfaces and sample requirements. Explain how the part is installed and which interfaces control its function.
A sample can help explain the structure. Compare it with the assembly because wear, swelling or compression may have changed its original dimensions.
The material, part geometry, tooling, quantity and finishing affect the quotation. Include the intended batch size and delivery destination when describing your requirements.
DISCUSS THIS COMPONENT
Share the fit, operating conditions and quantity with our manufacturing team.
EXPLORE RELATED DESIGNS
Explore similar part structures and applications for your next project.