Working conditions
Identify temperature, contact fluids and repeated movement.

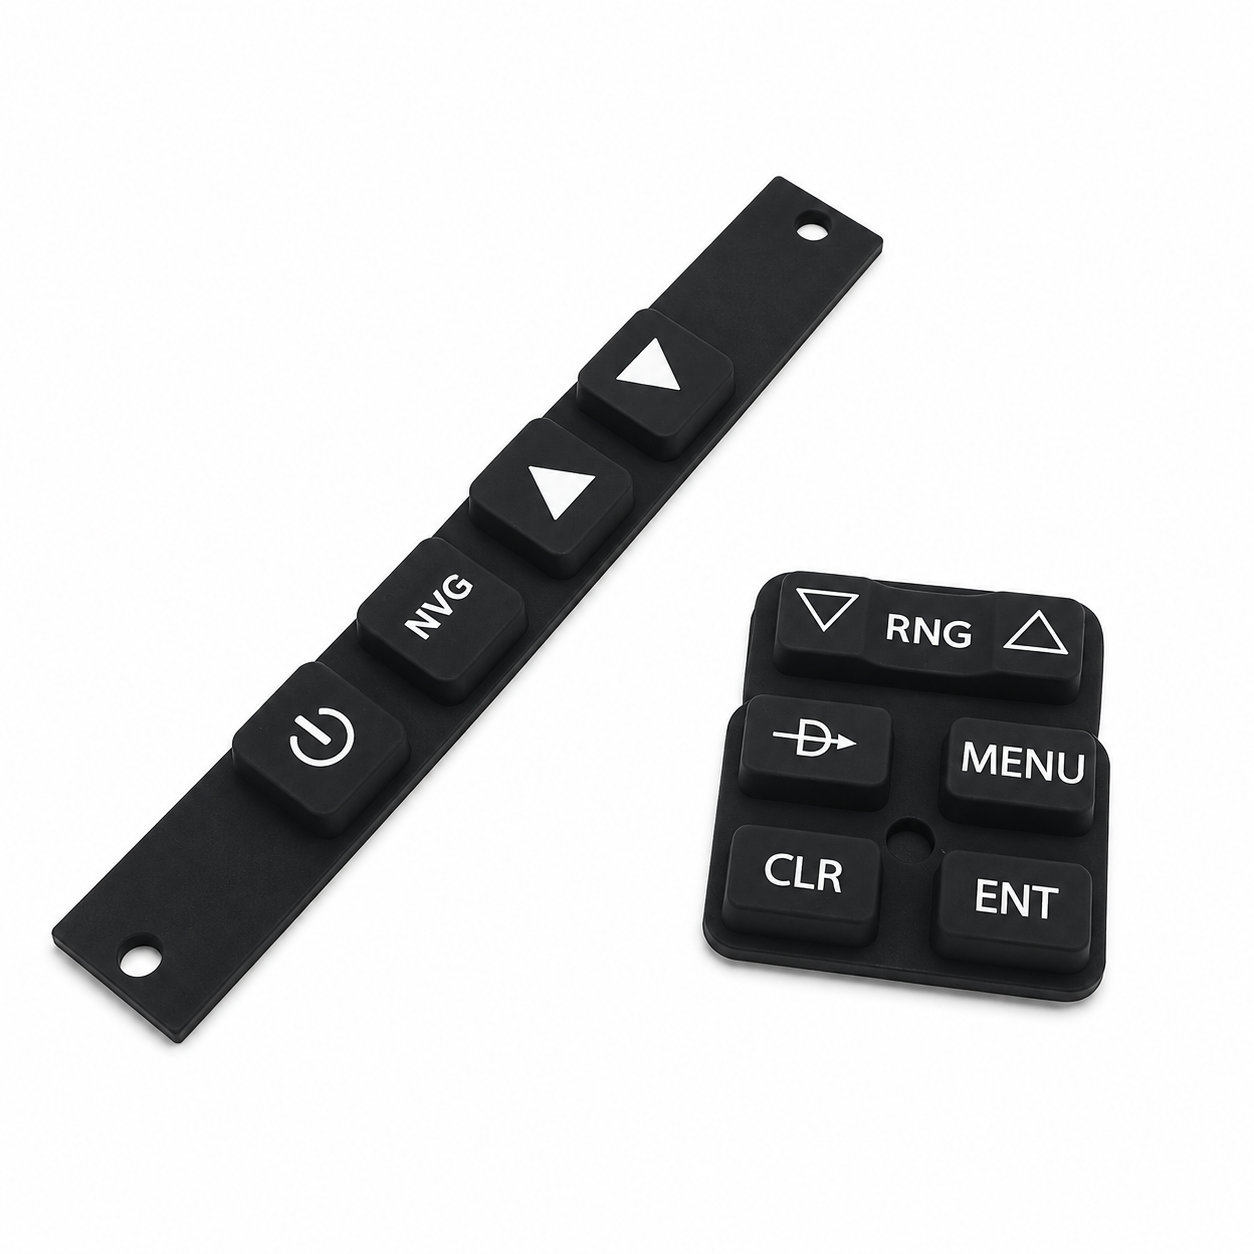
Custom manufacturing example · Assembly Keypad Silicone Rubber Push Buttons
CUSTOM RUBBER & SILICONE MANUFACTURING
A custom component for your assembly.
Define the mating surfaces, dimensions and working conditions. ETOL manufactures the part to the agreed design and material.
Share the part, its application and your estimated quantity.
Selected for the contact, temperature and movement
Define the visible surfaces and intended color
Develop holes, lips and walls around the mating parts
Match the attachment and installation method
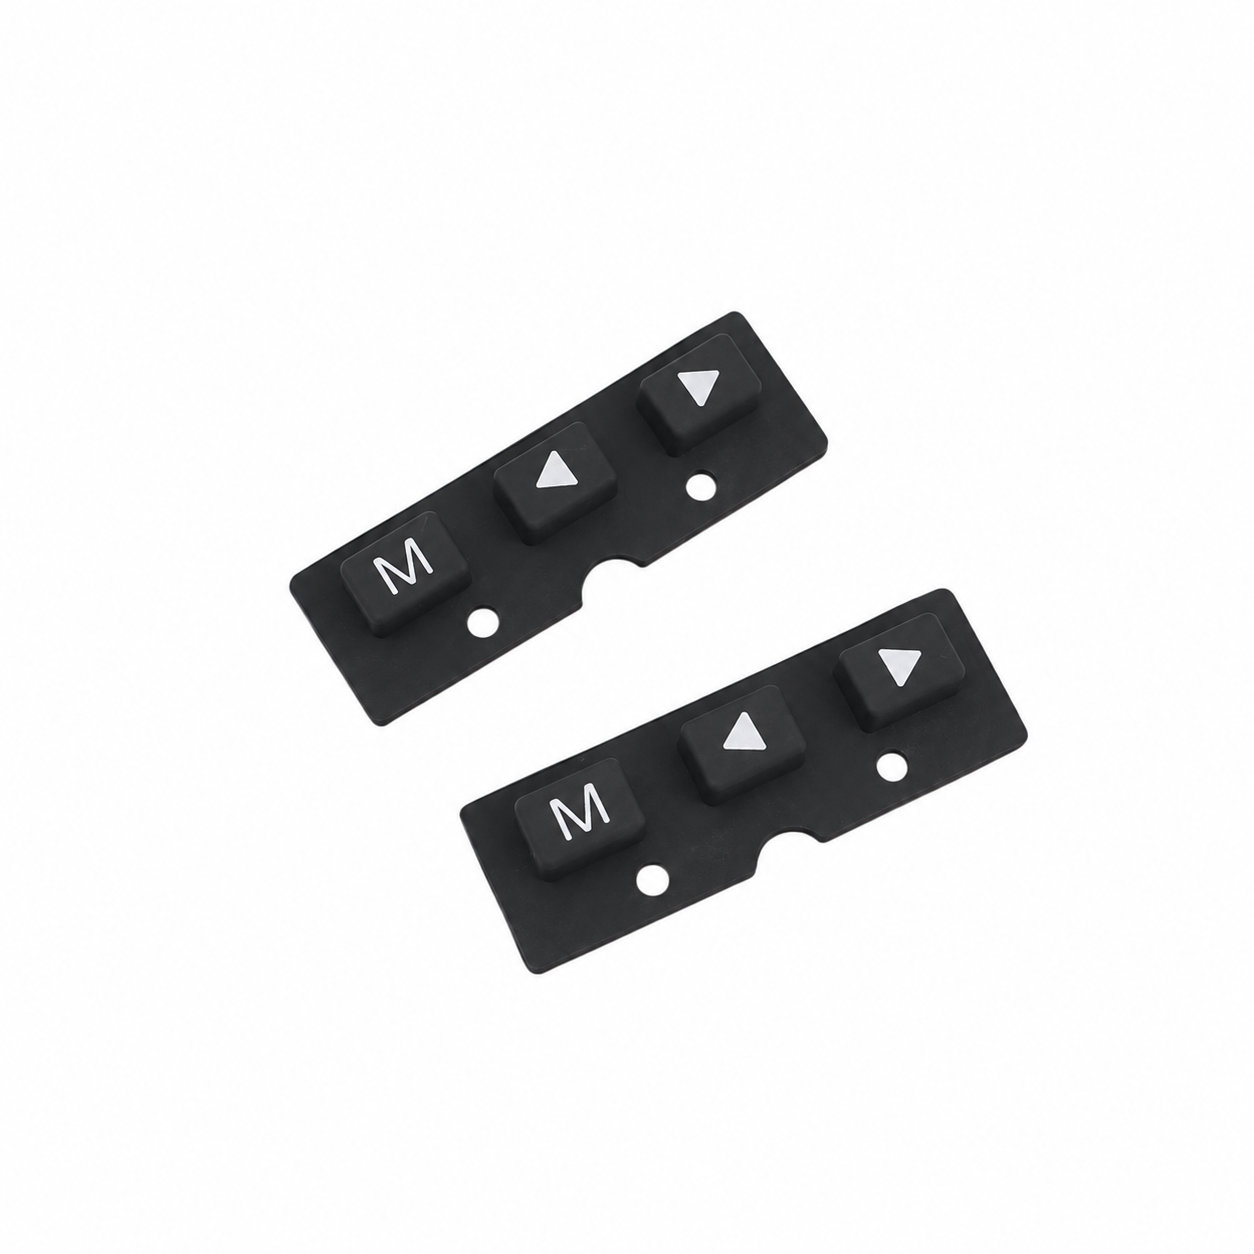
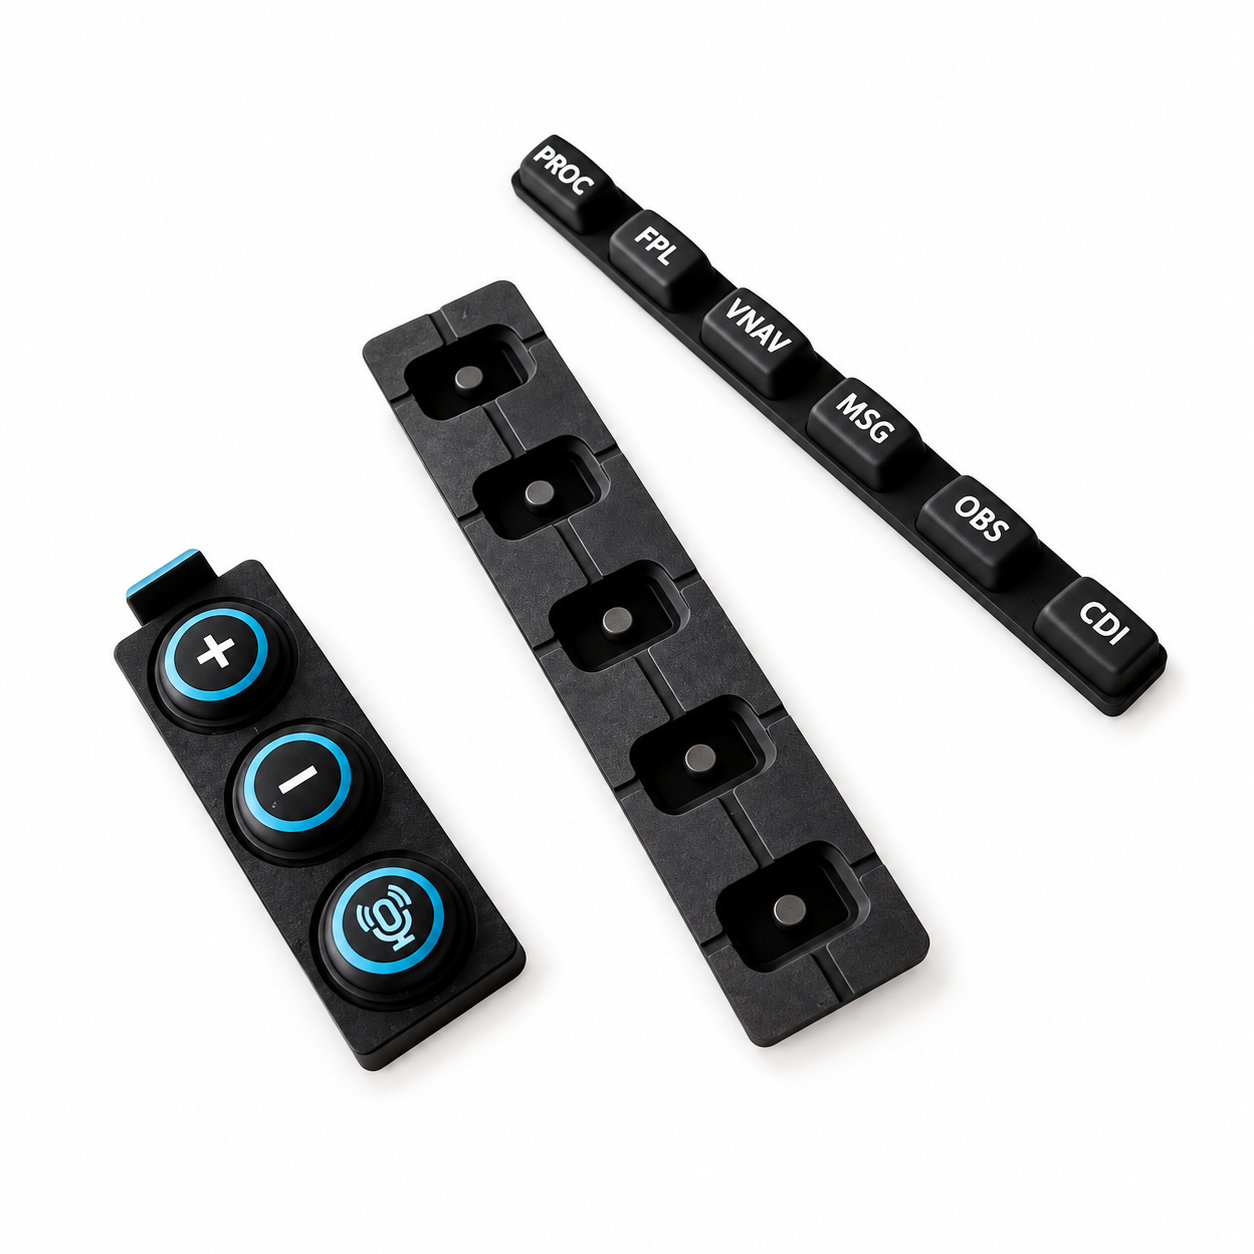
Silicone rubber push buttons must be positioned correctly inside an electronic housing before the controls can operate as intended. For an assembly keypad, that includes orientation, location and the order in which surrounding components are fitted. A molded key set that looks symmetrical from the front may still have an underside layout that must align in only one direction.
Review the assembly sequence using the keypad, front housing and circuit board together. Identify the features that locate the rubber without stretching it into place. If a locating tab or asymmetrical outline is required, show it clearly on the drawing. Check whether the keypad is placed into the housing first or supported on another component, and note any part that could catch a key during closure.
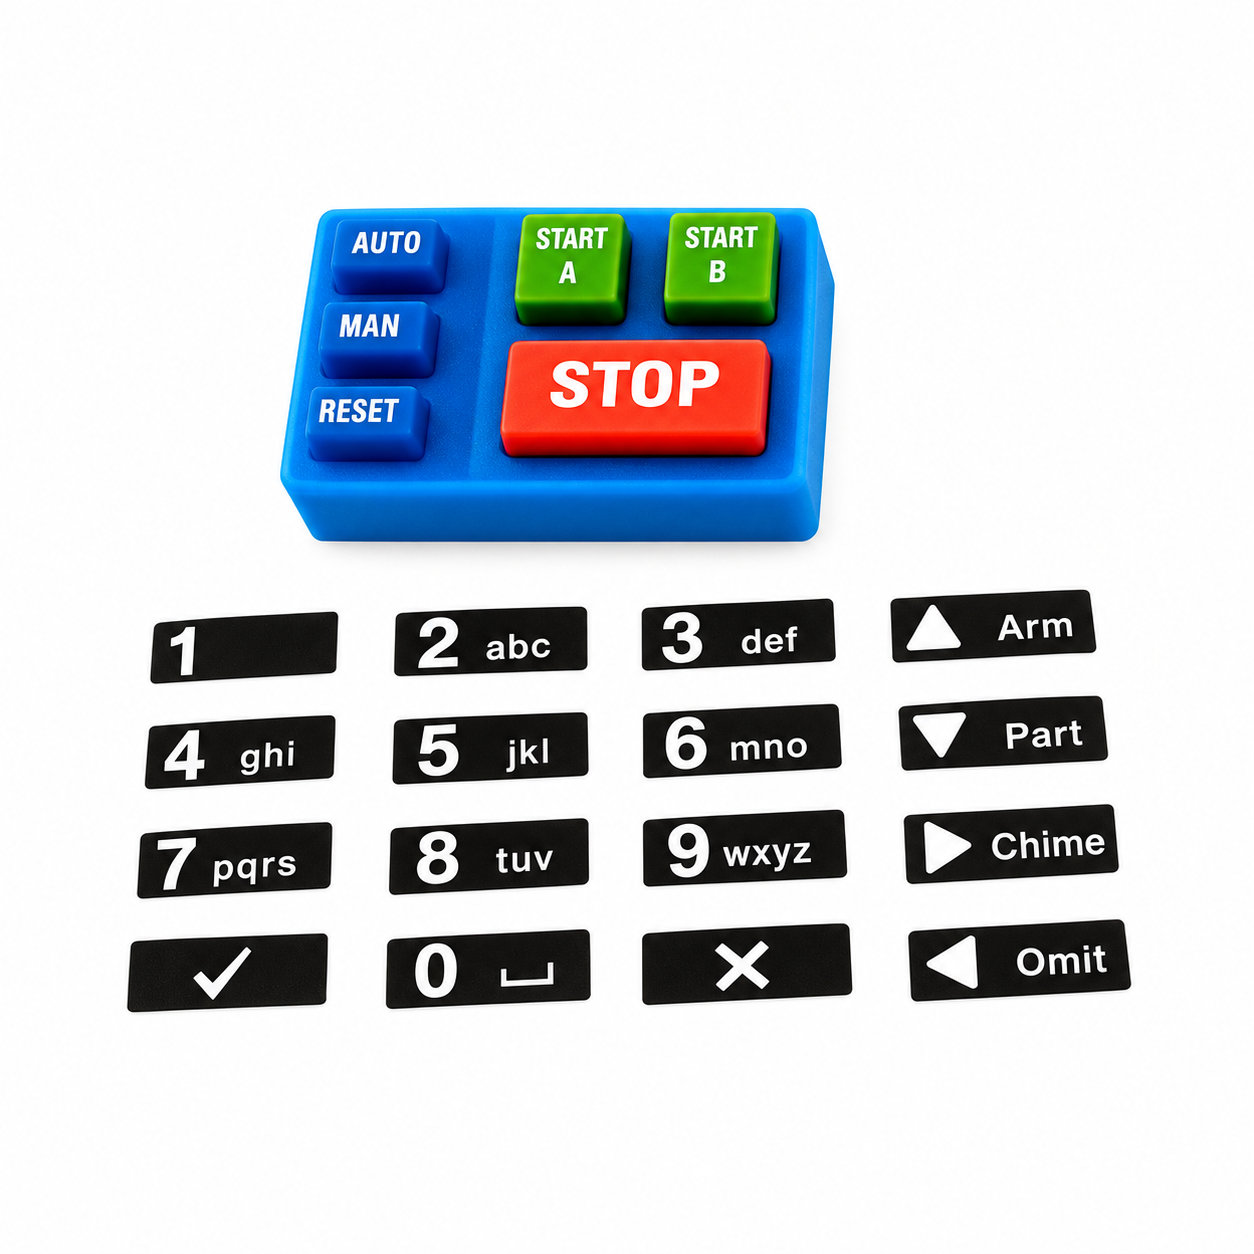
ETOL can discuss custom structure, key dimensions, hardness and color, with legend processes available to suit the proposed interface. Supply the artwork in its final orientation so the printing reference matches the mechanical drawing. Define the intended contact arrangement and the assembled key travel. An assembly check should confirm these details after the enclosure is secured, since behavior can change when the surrounding parts are brought together.
Handle silicone rubber push buttons by the designated outer area where practical and keep the underside away from loose particles. Before closing the enclosure, inspect the location of each flexible web and make sure no edge is trapped across a joint. Operate every key after fastening, including those nearest the housing corners. For production development, provide a short assembly sequence or photographs of a trial installation with the drawing package. This helps reveal orientation and access issues early and gives the approved sample a clear relationship to the method used on the assembly line.
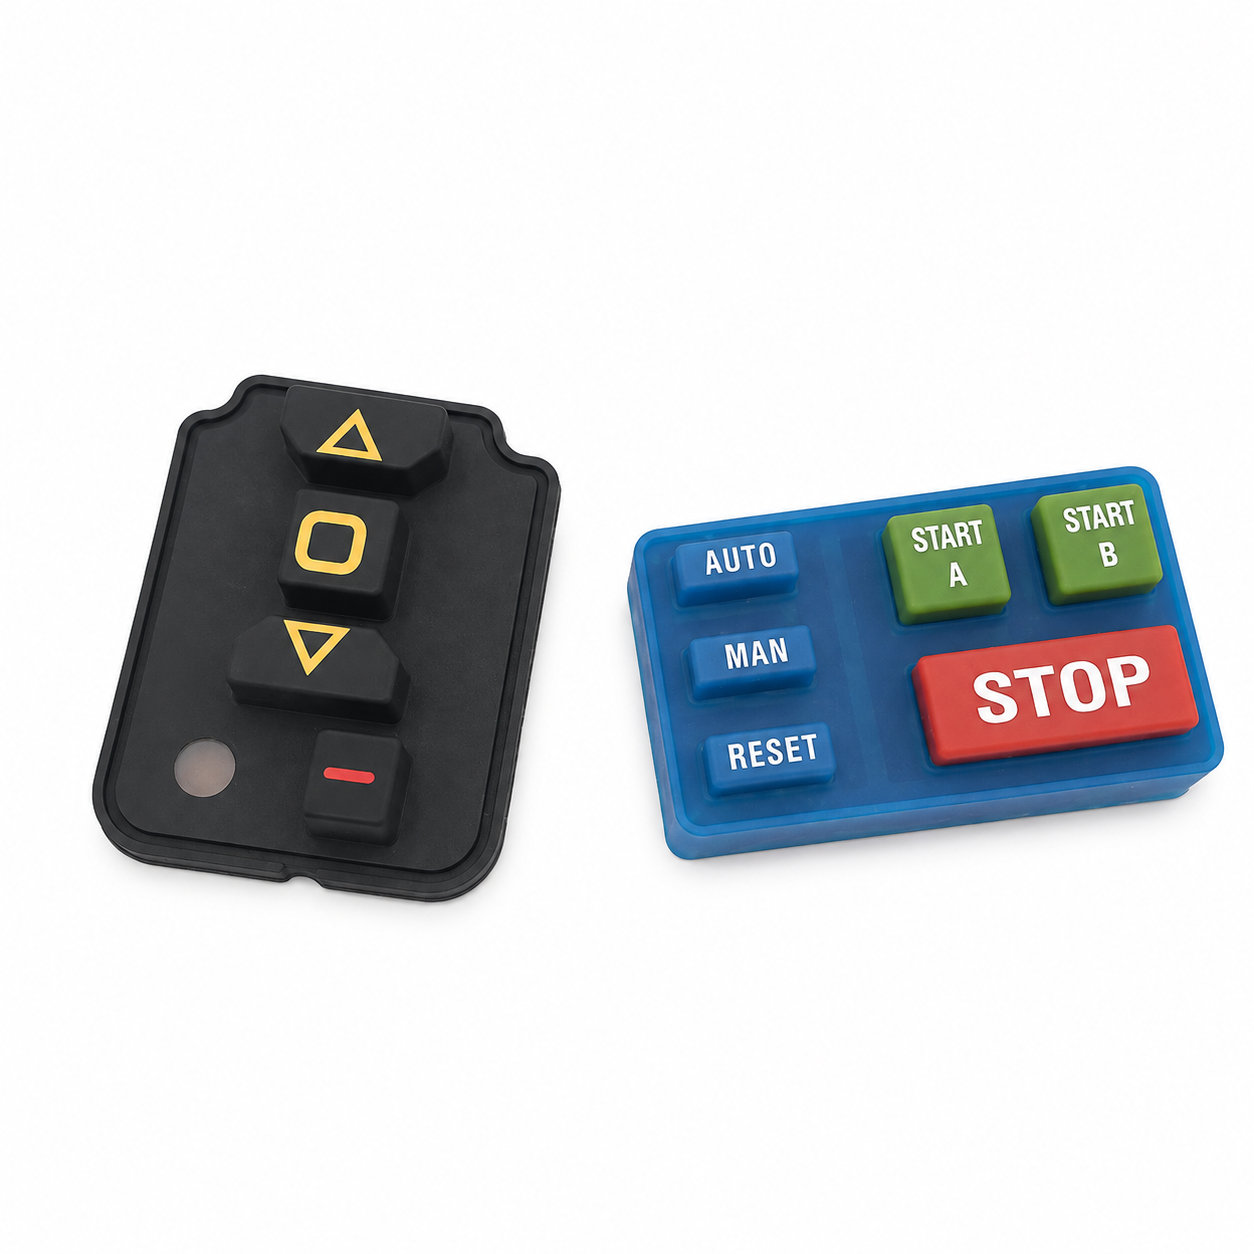
Photos illustrate structure or material only. A molded key set that looks symmetrical from the front may still have an underside layout that must align in only one direction. ETOL directly manufactures custom-shaped silicone and rubber parts to your requirements.
Identify key dimensions, mating surfaces and quantity
Agree the compound and manufacturing approach
Review the fit and agreed requirements in the assembly
Manufacture and check against the approved requirements
Identify temperature, contact fluids and repeated movement.
Consider hardness together with wall thickness and support.
Check access, mating dimensions and the fitting sequence.
Yes. Show the receiving opening, contact surfaces and clearance limits. We can review the dimensions and retaining features around the intended fit.
Agree the critical dimensions, material, hardness, visible surfaces and sample requirements. Explain how the part is installed and which interfaces control its function.
A sample can help explain the structure. Compare it with the assembly because wear, swelling or compression may have changed its original dimensions.
The material, part geometry, tooling, quantity and finishing affect the quotation. Include the intended batch size and delivery destination when describing your requirements.
DISCUSS THIS COMPONENT
Share the fit, operating conditions and quantity with our manufacturing team.
EXPLORE RELATED DESIGNS
Explore similar part structures and applications for your next project.