Working conditions
Identify temperature, contact fluids and repeated movement.

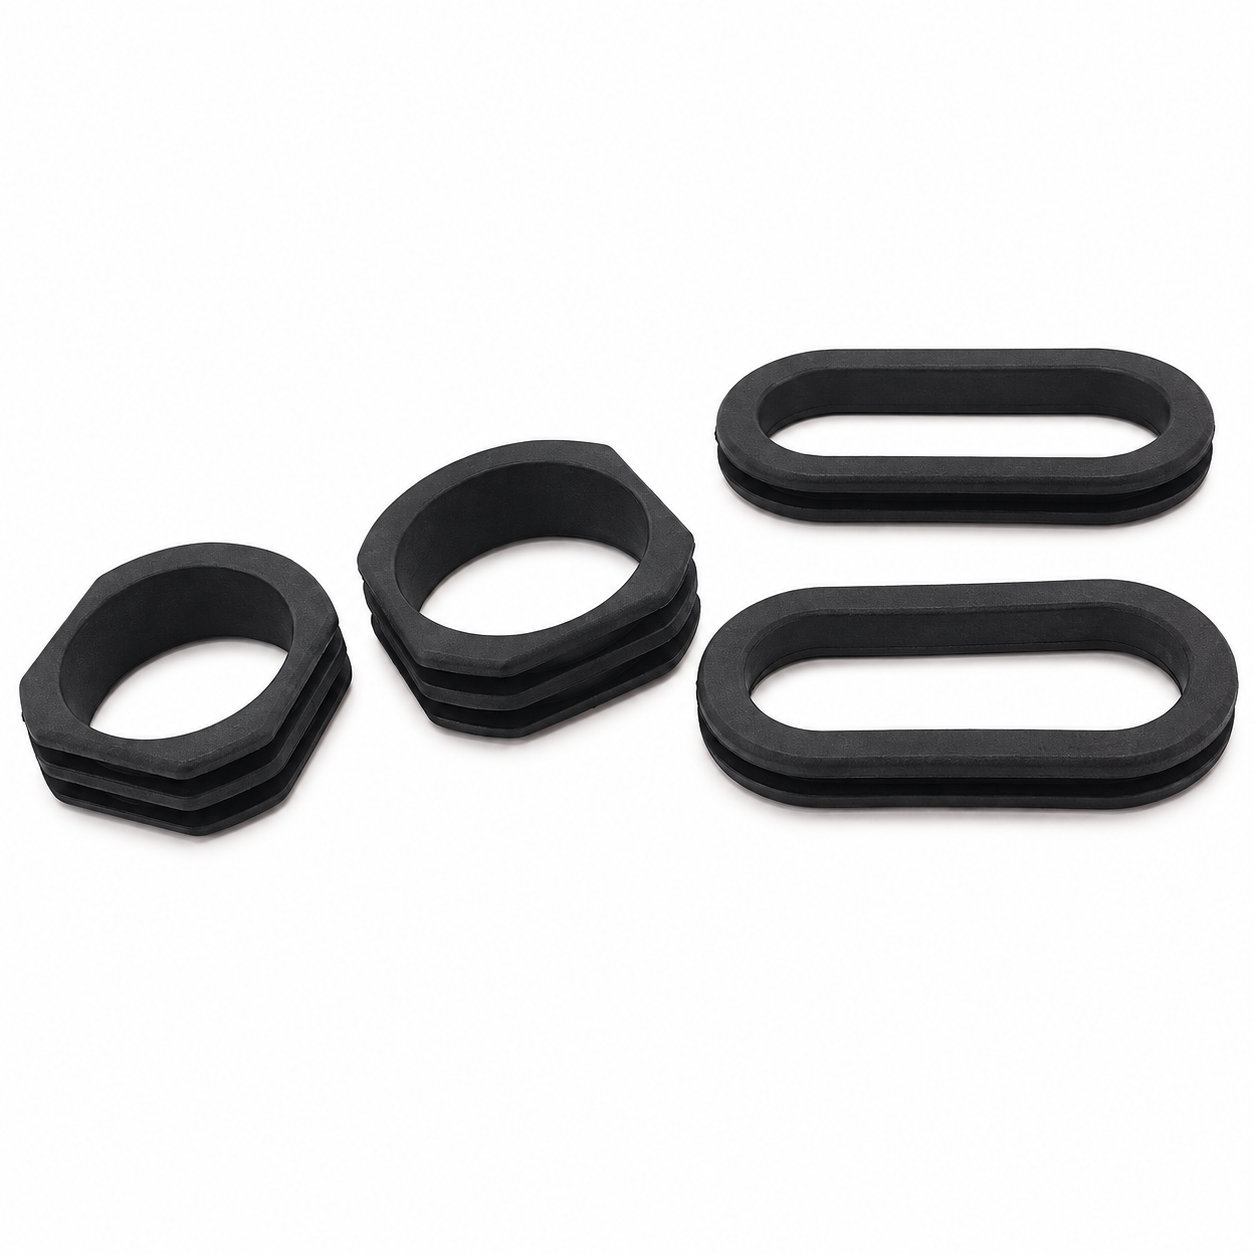
Custom manufacturing example · cable wire grommets oval rubber grommet
CUSTOM RUBBER & SILICONE MANUFACTURING
A custom component for your assembly.
Define the mating surfaces, dimensions and working conditions. ETOL manufactures the part to the agreed design and material.
Share the part, its application and your estimated quantity.

Selected for the contact, temperature and movement
Define the visible surfaces and intended color
Develop holes, lips and walls around the mating parts
Match the attachment and installation method
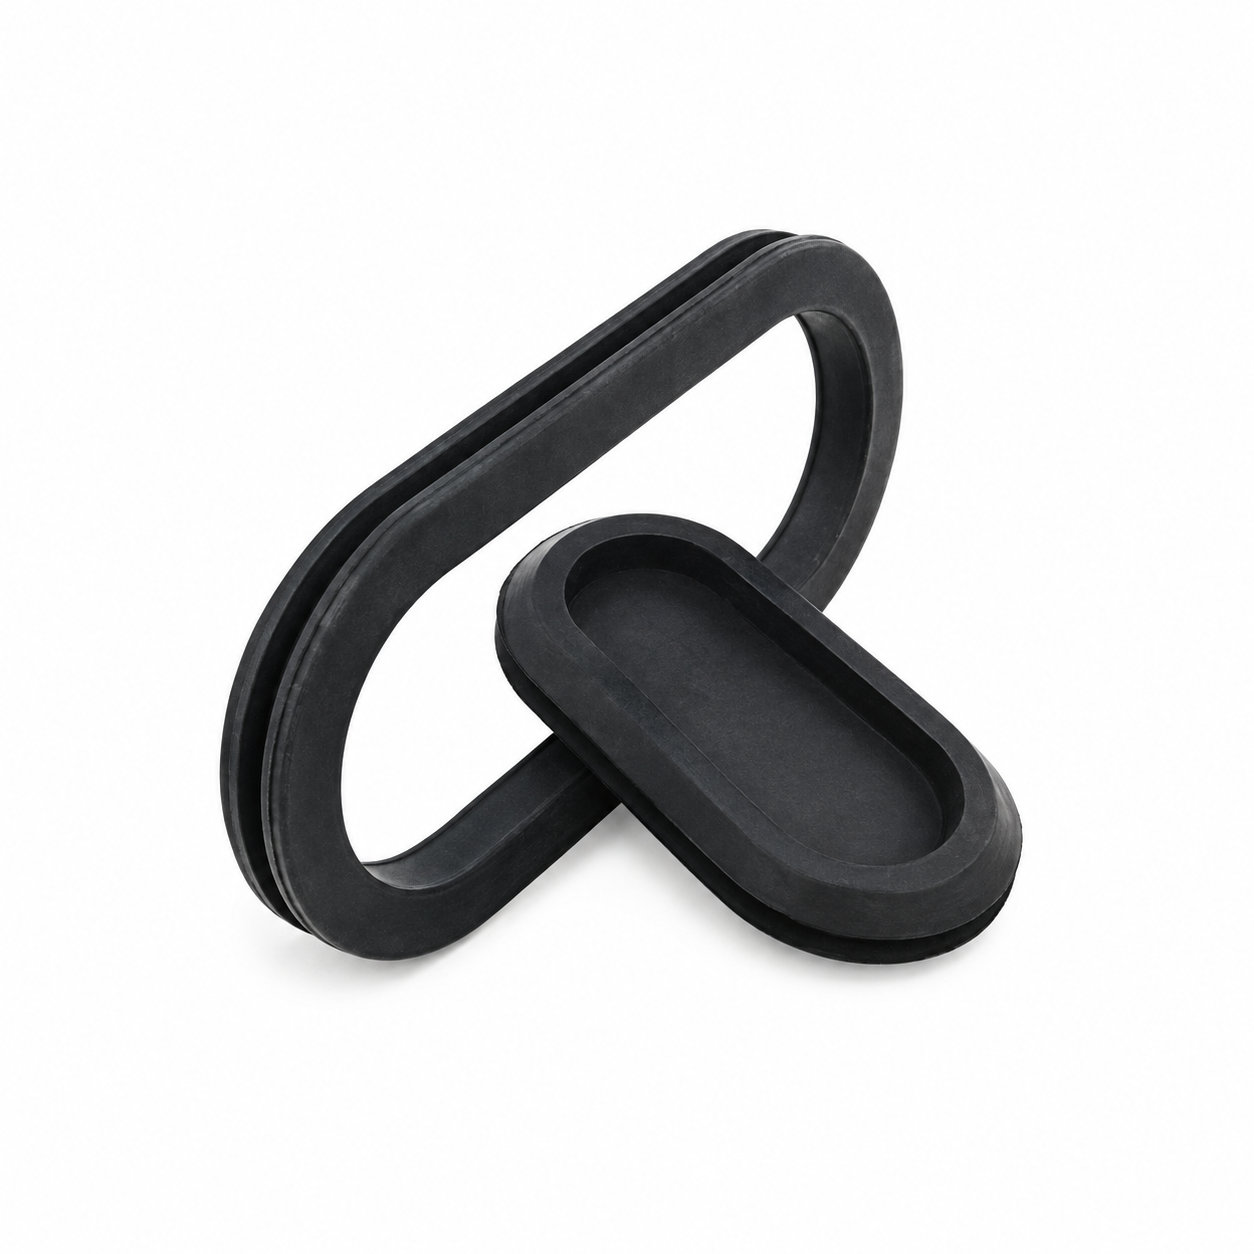
Cable wire grommets protect the edge of a panel passage, but the route approaching that passage also affects the contact between the wiring and rubber. In an oval entry, the elongated shape can provide room for a wider arrangement of cables. The bundle still needs to approach without forcing the grommet sideways or bending sharply against one end of the opening.
Review a short section of the cable route on both sides of the panel. Identify the nearby connector, bend or retaining point that determines the approach angle. Record the bundle dimensions and the largest part that must pass through during assembly. If the cables turn immediately after entering the enclosure, check that the available space does not place sustained pressure on the retaining flange.
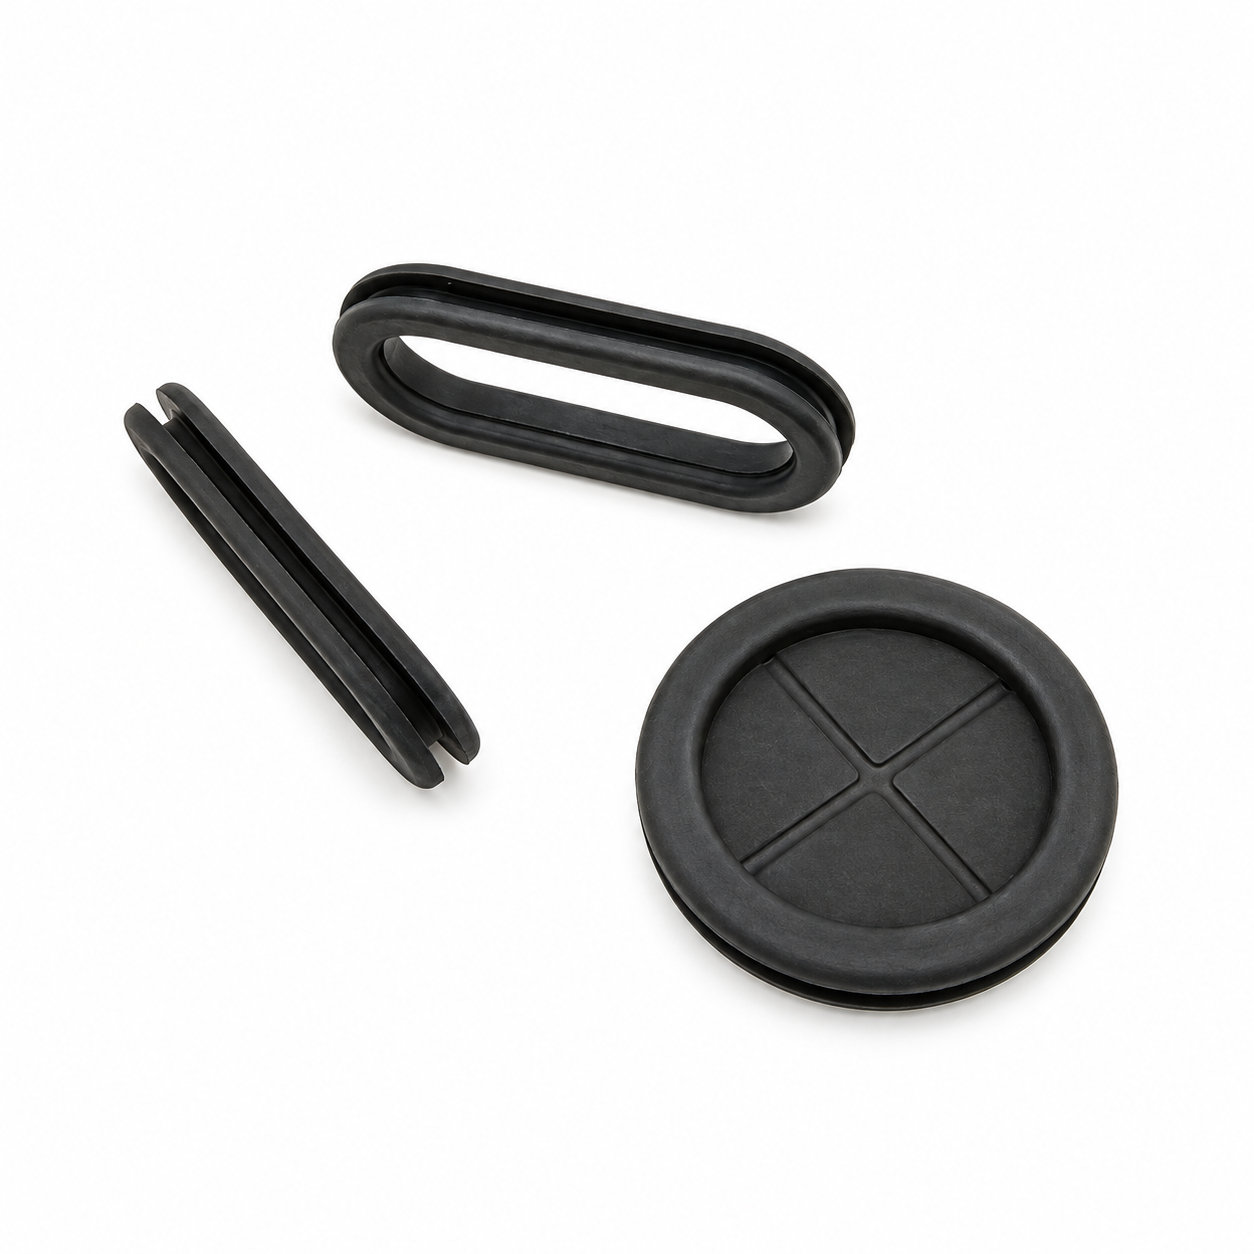
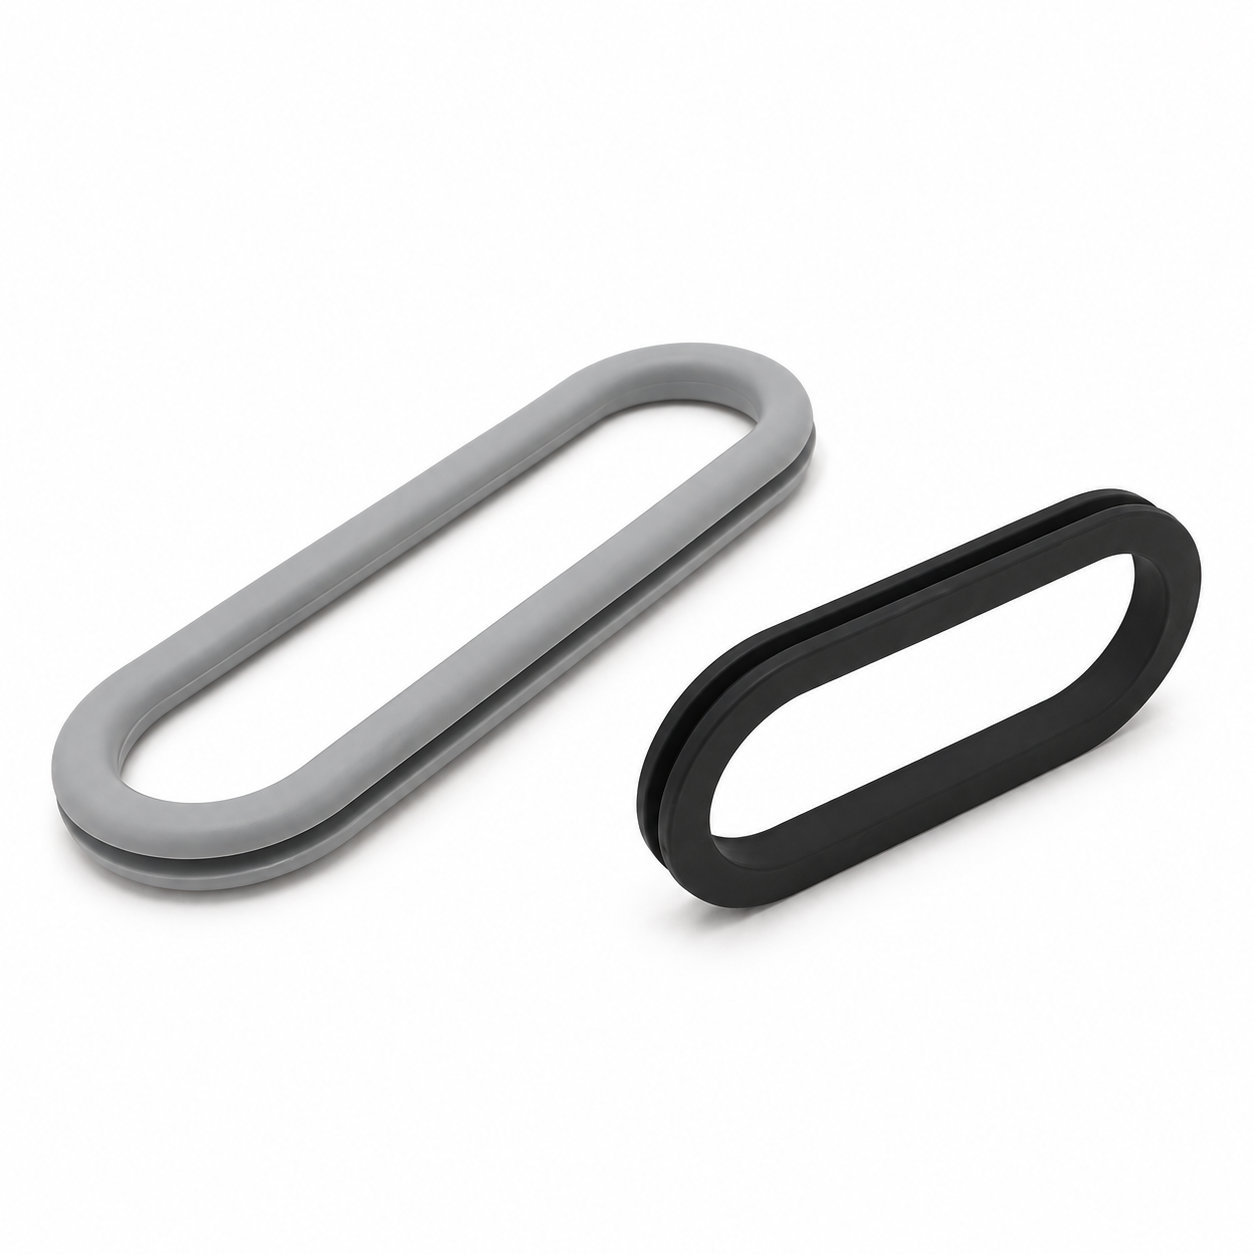
Oval and round profiles are available, with custom dimensions, structure and color to suit the cable-entry arrangement. Match the groove to the panel thickness as well as choosing the required internal opening. ETOL can review the proposed geometry using a drawing that includes the surrounding route. Material selection should follow the exposure at the entry, while any separate cable retention requirement should be addressed in the assembly design.
Fit cable wire grommets before final routing when the assembly sequence allows it, and confirm that both flanges remain correctly positioned after the bundle is placed. Check the less accessible side of the panel rather than relying only on the visible front edge. Inspect for local stretching or a flange drawn into the opening when nearby cables are adjusted. Remove abrasive debris during servicing and investigate recurring displacement instead of simply reseating the part. An inquiry showing the cable approach and exit makes it easier to distinguish a dimensional mismatch from a routing issue that needs attention elsewhere in the enclosure.
Photos illustrate structure or material only. Cable wire grommets protect the edge of a panel passage, but the route approaching that passage also affects the contact between the wiring and rubber. ETOL directly manufactures custom-shaped silicone and rubber parts to your requirements.
FIND THE RIGHT FIT
Choose a through-hole or blind-hole profile, then compare the dimensions for your panel and cable arrangement.
133 sizes with an open passage for cables. Match the outside dimensions, opening, panel hole, panel thickness and overall thickness. Dimensions are in millimeters (mm).

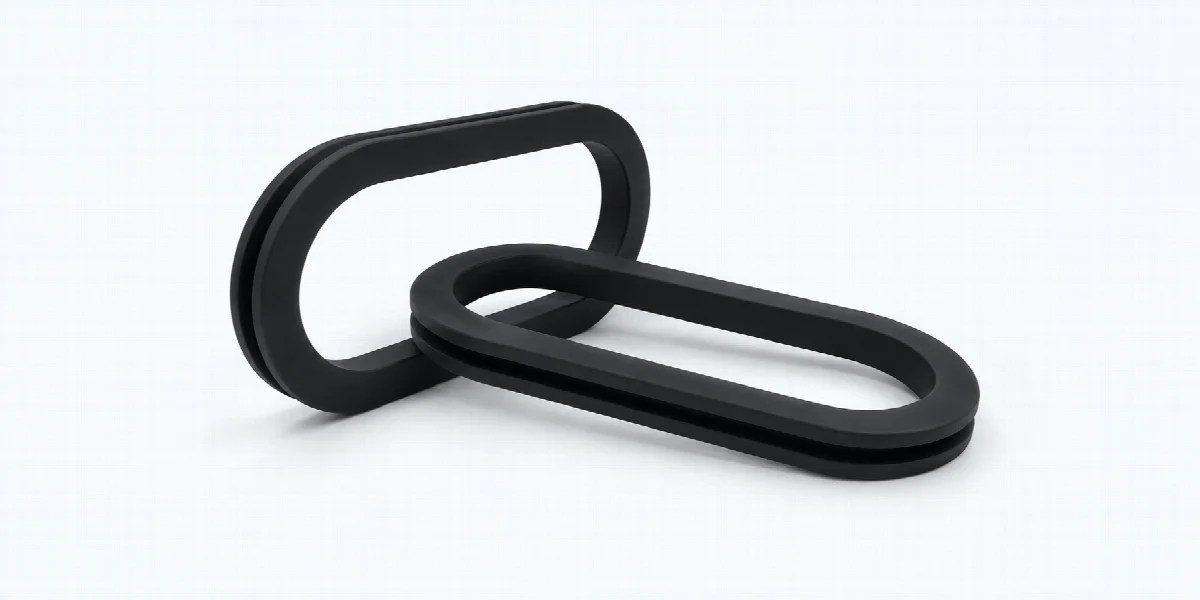
| P/N | OD | ID | GD | GW | T |
|---|---|---|---|---|---|
| OG9001 | 29×49 | 20×40 | 23×43 | 4 | 8 |
| OG9002 | 71.5×37.2 | 53.5×19.2 | 59.5×25.2 | 3.5 | 7.2 |
| OG9003 | 112×43.5 | 98.5×30 | 101.5×33 | 3.5 | 7.2 |
| OG9004 | 83×40 | 71×28 | 75×32 | 2 | 6 |
| OG9005 | 39×19 | 32×12 | 35×15 | 2 | 5 |
| OG9006 | 19.5×10 | 13.5×4 | 15.5×6 | 2 | 5 |
| OG9007 | 14×24 | 8×18 | 10×20 | 1 | 4 |
| OG9008 | 14×24 | 8×18 | 10×20 | 1.5 | 4.5 |
| OG9009 | 14×24 | 8×18 | 10×20 | 2 | 5 |
| OG9010 | 14×24 | 8×18 | 10×20 | 2.5 | 5.5 |
| OG9011 | 14×24 | 8×18 | 10×20 | 3 | 6 |
| OG9012 | 14×24 | 8×18 | 10×20 | 4 | 7 |
| OG9013 | 14×29 | 8×23 | 10×25 | 1 | 4 |
| OG9014 | 14×29 | 8×23 | 10×25 | 1.5 | 4.5 |
| OG9015 | 14×29 | 8×23 | 10×25 | 2 | 5 |
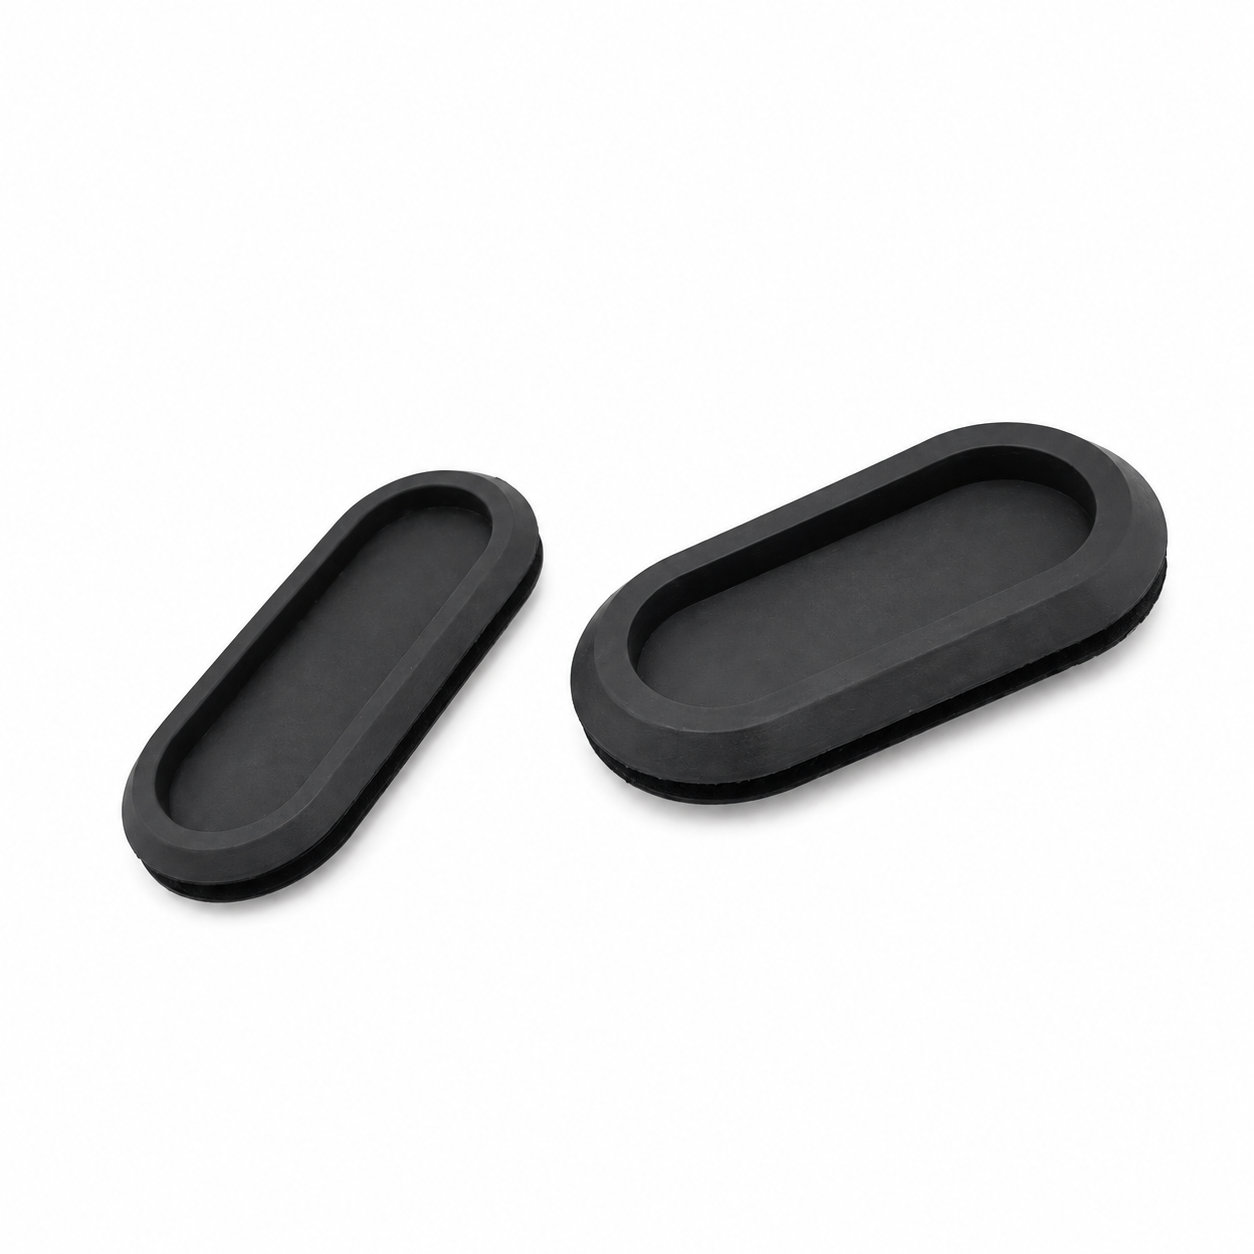
16 sizes with a closed oval profile. Compare the groove dimensions and panel thickness for the mounting fit. Dimensions are in millimeters (mm).

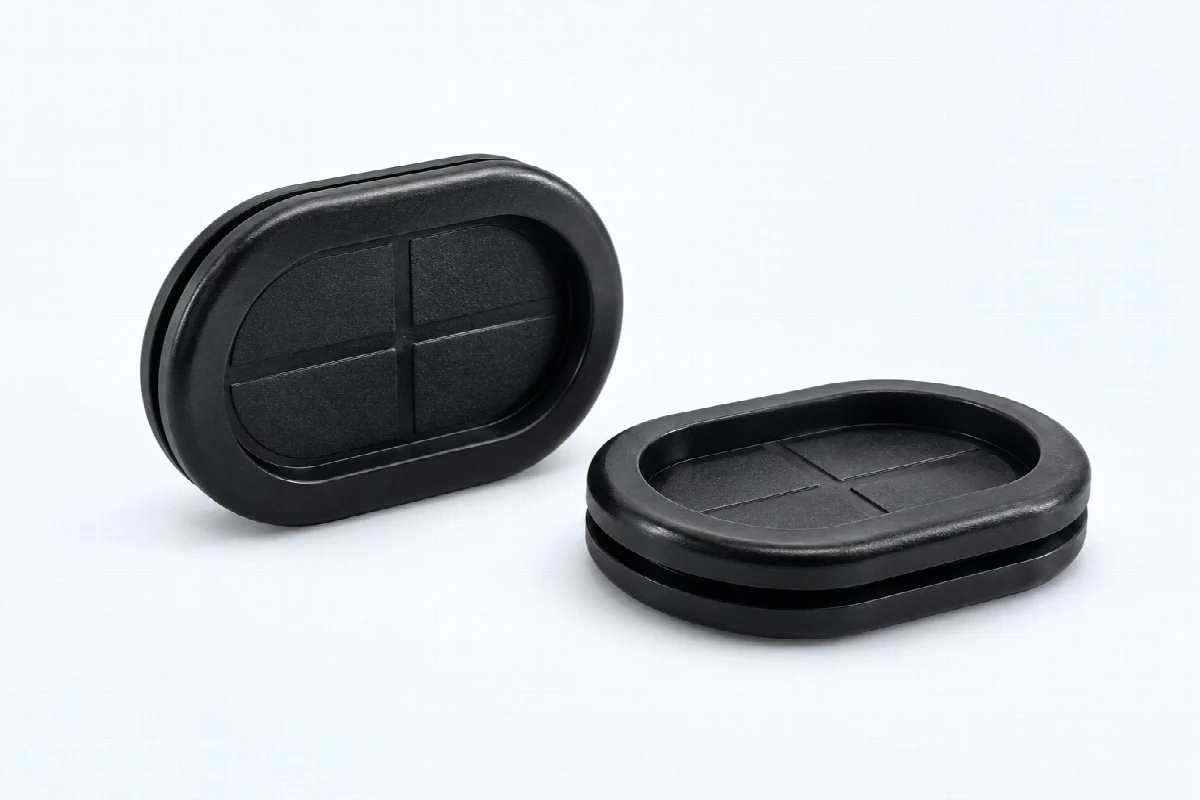
| P/N | OD | ID | GD | GW | T |
|---|---|---|---|---|---|
| GBH2002 | 15×30 | 10×25 | 13×27 | 3 | 10 |
| GBH2003 | 23×48 | 17×42 | 20×44 | 3 | 10 |
| GBH2004 | 25×51 | 16×42 | 20×45 | 2 | 9 |
| GBH2005 | 25×51 | 16×42 | 20×50 | 2 | 9 |
| GBH2006 | 30×45 | 21×37 | 25×40 | 2 | 9 |
| GBH2007 | 37×91 | 24×78 | 30×85 | 2 | 11 |
| GBH2008 | 46×84 | 29×67 | 37×75 | 2 | 11 |
| GBH2009 | 46×90 | 33×77 | 40×83 | 3 | 14 |
| GBH2010 | 58×83 | 45×70 | 50×75 | 3 | 14 |
| GBH2011 | 41×105 | 26×90 | 35×100 | 2.5 | 9.5 |
| GBH2013 | 38×83 | 26×71 | 30×75 | 4 | 9 |
| GBH2014 | 48×128 | 26×110 | 40×120 | 3 | 10 |
| GBH2015 | 25×40 | 16×31 | 20×35 | 1.5 | 5.5 |
| GBH2016 | 38×53.8 | 24×39.8 | 31×46.8 | 2.54 | 6.35 |
| GBH2017 | 26×66 | 17×57 | 20×60 | 1 | 5 |
Can't find the right size? Contact us for custom dimensions tailored to your requirements.
Identify key dimensions, mating surfaces and quantity
Agree the compound and manufacturing approach
Review the fit and agreed requirements in the assembly
Manufacture and check against the approved requirements
Identify temperature, contact fluids and repeated movement.
Consider hardness together with wall thickness and support.
Check access, mating dimensions and the fitting sequence.
Yes. Show the receiving opening, contact surfaces and clearance limits. We can review the dimensions and retaining features around the intended fit.
Agree the critical dimensions, material, hardness, visible surfaces and sample requirements. Explain how the part is installed and which interfaces control its function.
A sample can help explain the structure. Compare it with the assembly because wear, swelling or compression may have changed its original dimensions.
The material, part geometry, tooling, quantity and finishing affect the quotation. Include the intended batch size and delivery destination when describing your requirements.
DISCUSS THIS COMPONENT
Share the fit, operating conditions and quantity with our manufacturing team.
EXPLORE RELATED DESIGNS
Explore similar part structures and applications for your next project.