Working conditions
Identify temperature, contact fluids and repeated movement.

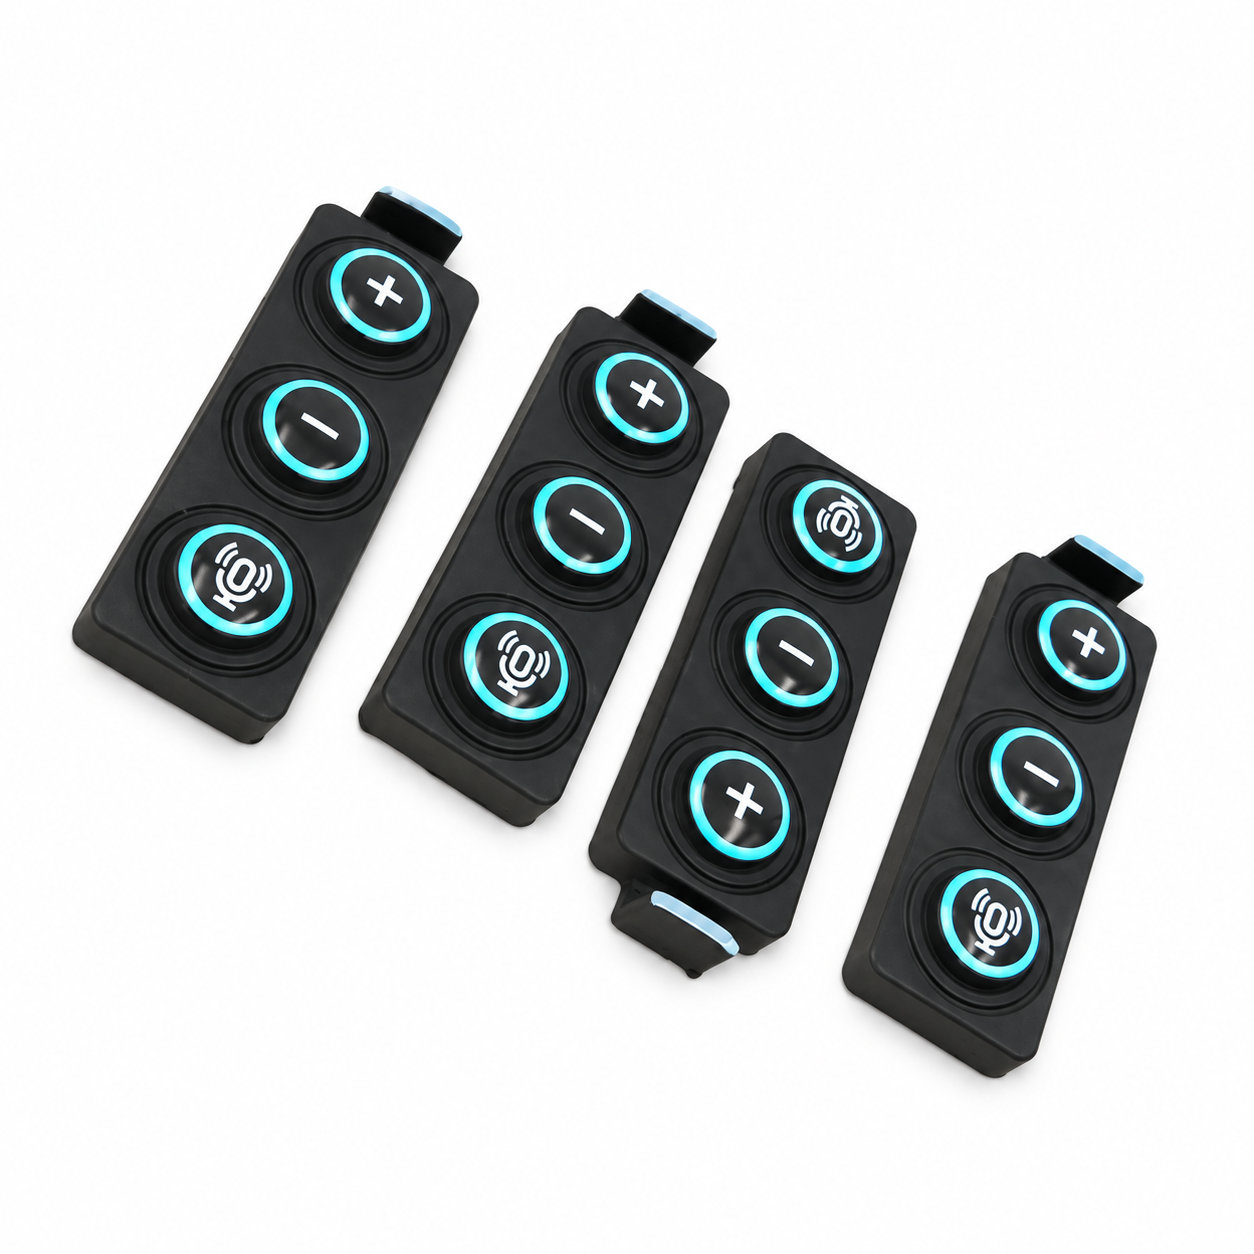
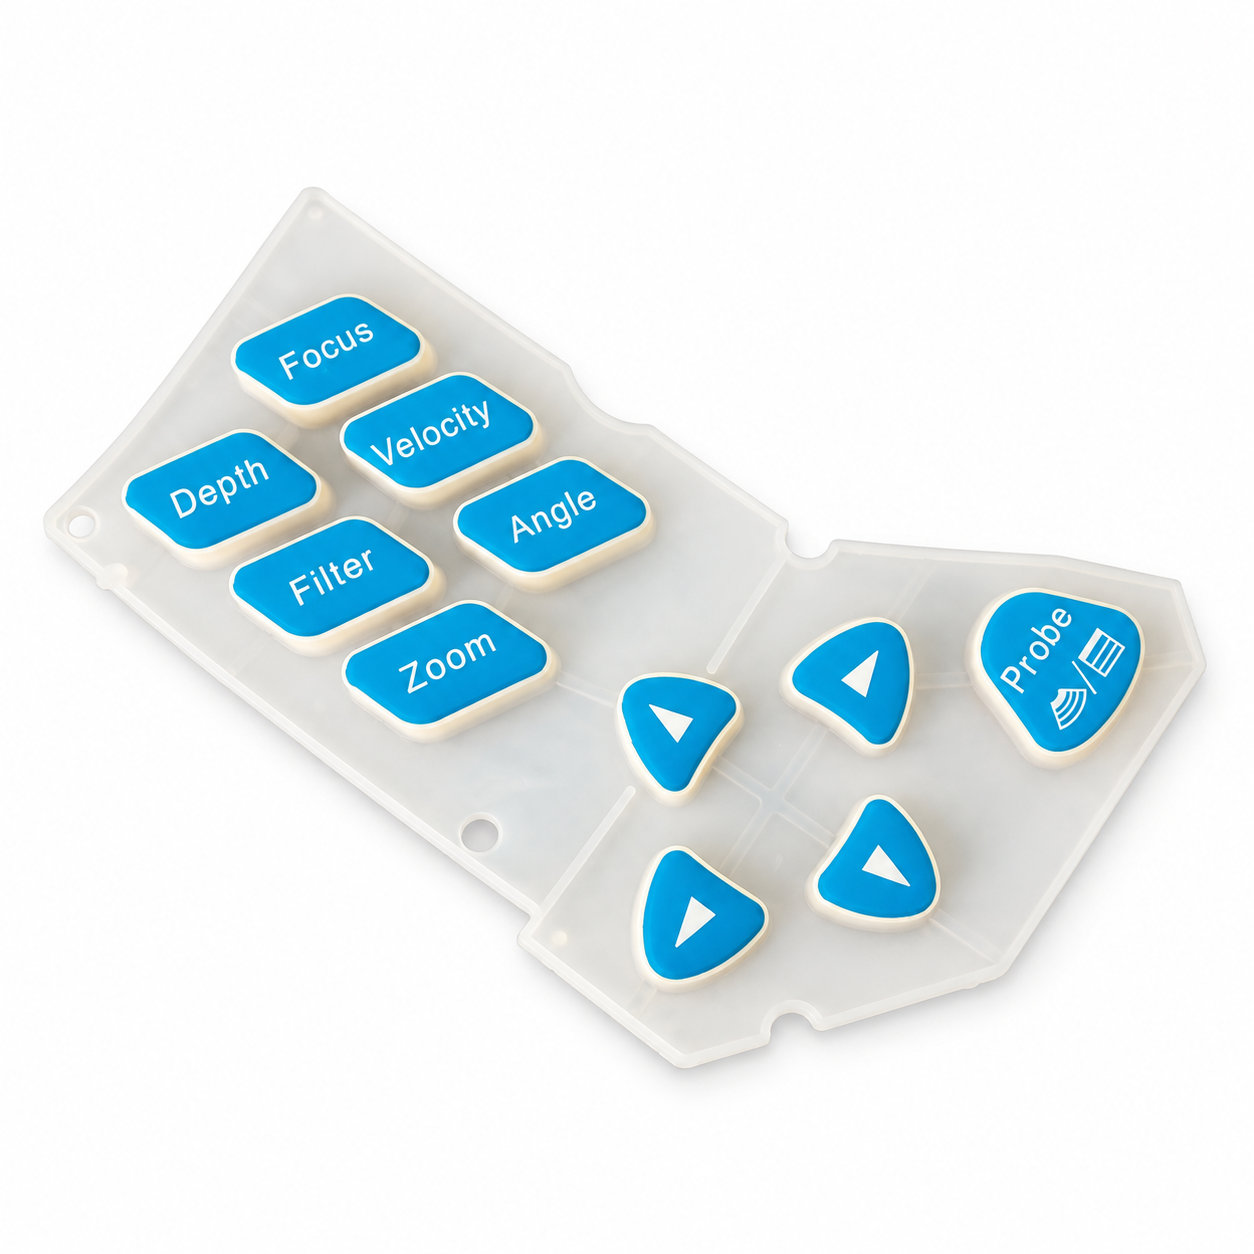
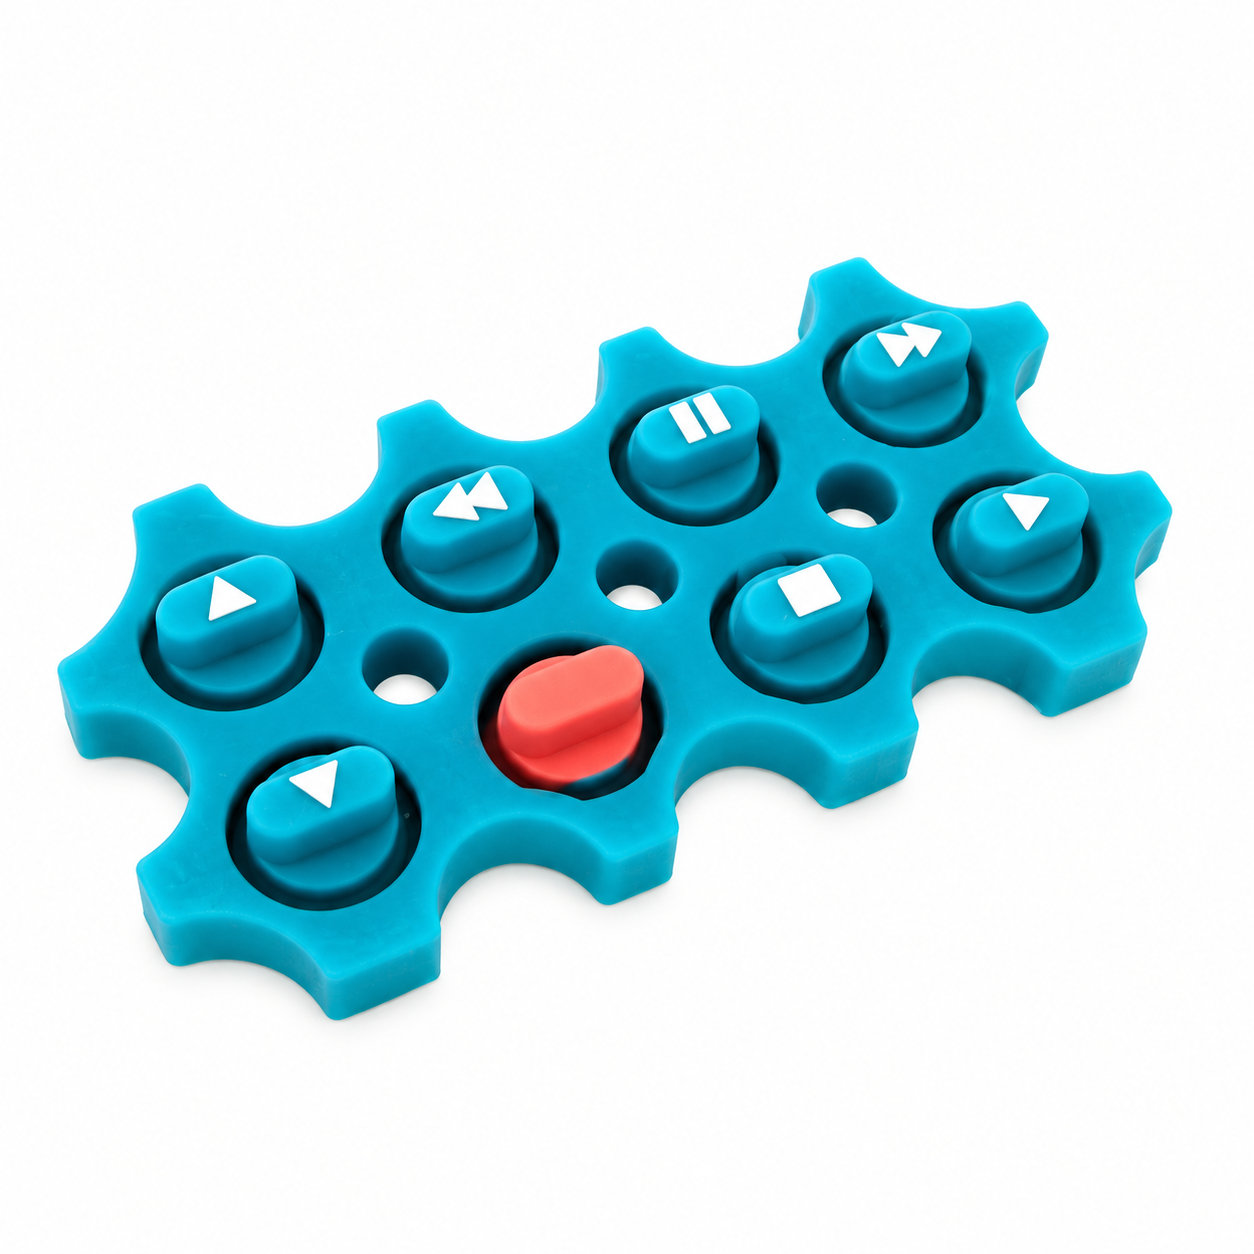
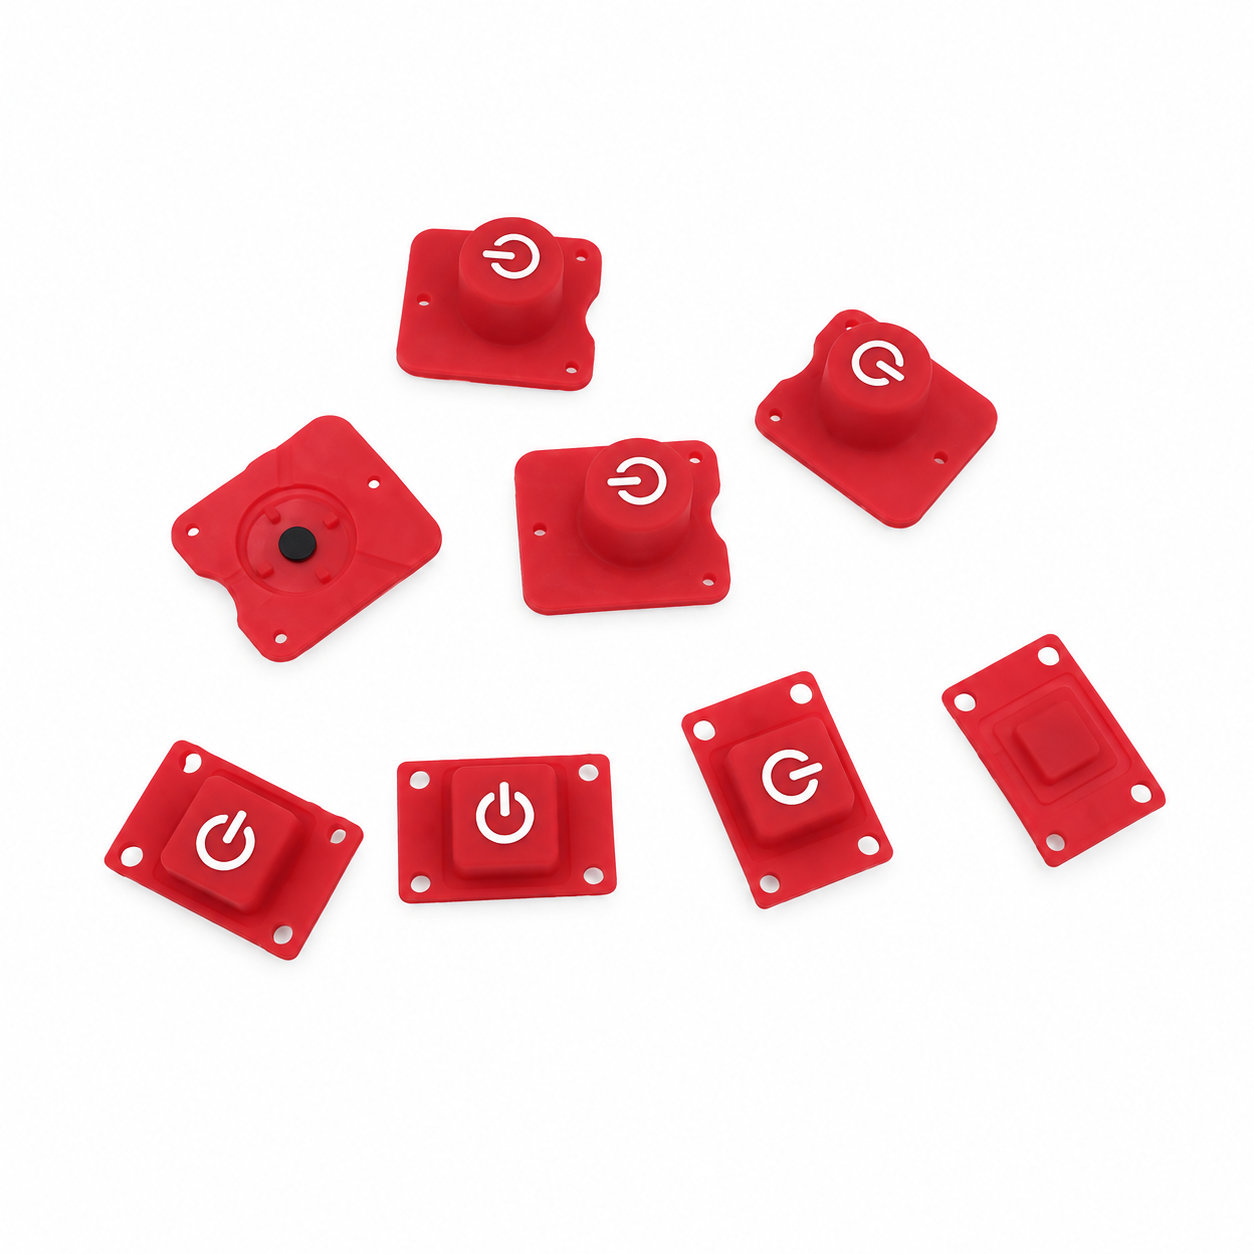
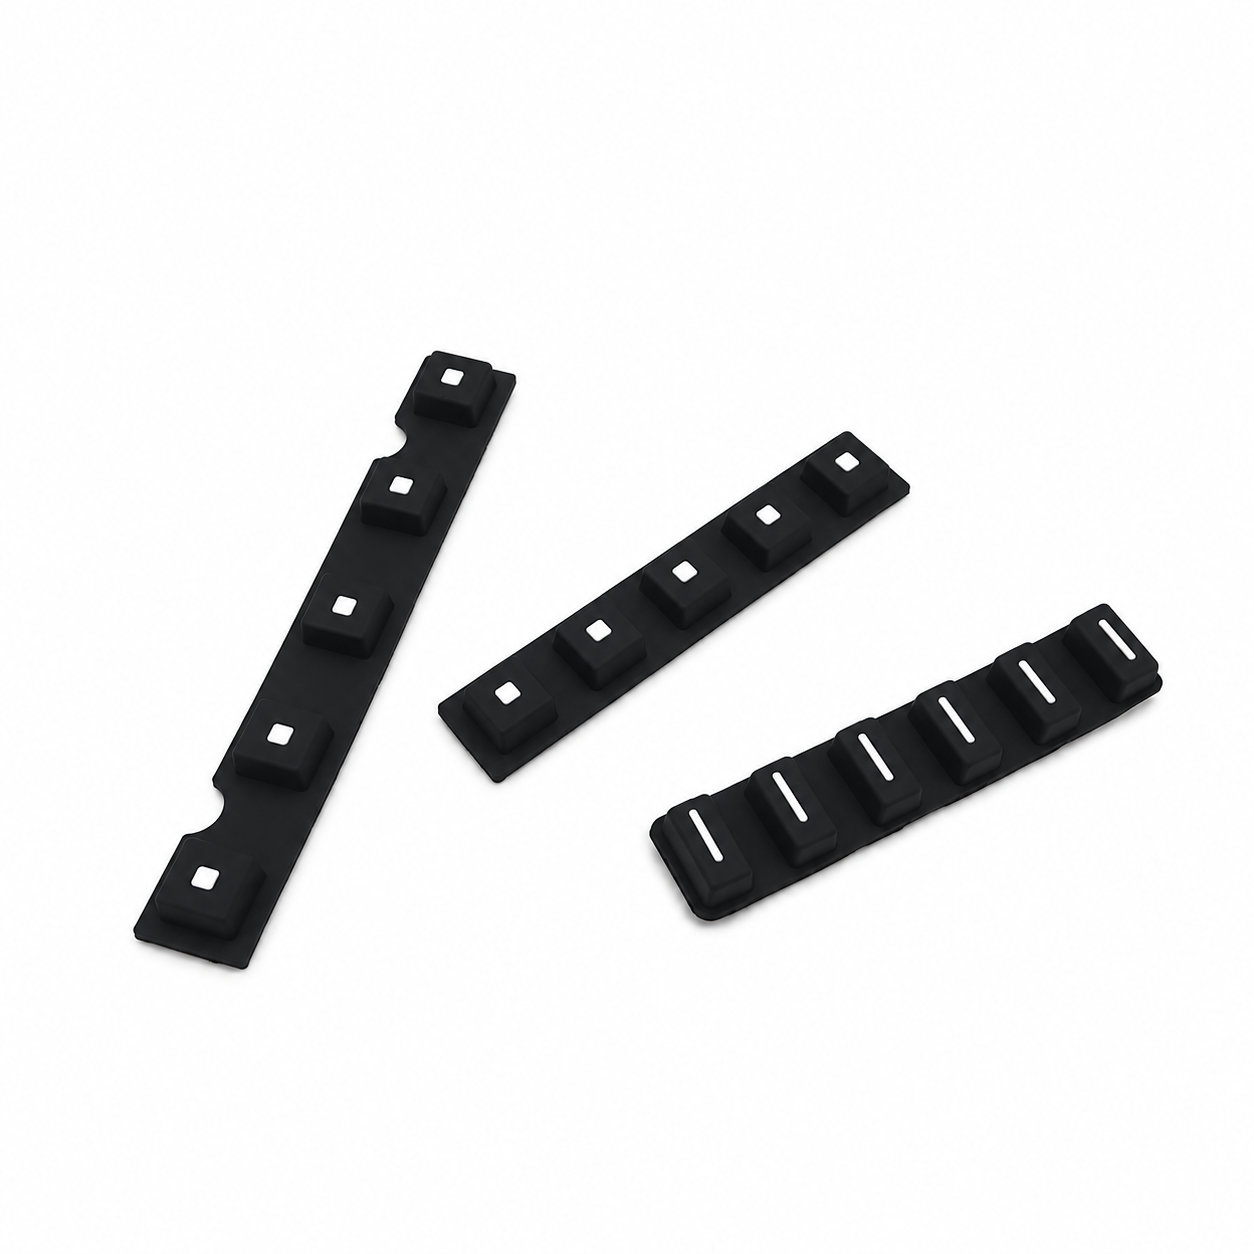
Custom manufacturing example · Light-admitting molded silicone keypad buttons with radium carving
CUSTOM RUBBER & SILICONE MANUFACTURING
A custom component for your assembly.
Define the mating surfaces, dimensions and working conditions. ETOL manufactures the part to the agreed design and material.
Share the part, its application and your estimated quantity.

Selected for the contact, temperature and movement
Define the visible surfaces and intended color
Develop holes, lips and walls around the mating parts
Match the attachment and installation method
Light-admitting silicone keypad buttons should be developed with the illumination arrangement behind them. The engraved legend, molded material and surrounding housing all influence how the user sees the key in the finished control.
ETOL can customize shape, dimensions, color and identification features. Position each legend within the visible key area and align it with the intended light path. A feature centered on a loose button can appear unevenly lit if the light source or support shadows part of it after assembly.
Inspect the control with its intended illumination active and inactive. Check readability from the normal viewing angle, then assess the button's mechanical movement and circuit response separately. Light transmission does not establish correct contact alignment or unobstructed key travel.
Compare neighboring keys under the same conditions, including the areas closest to the housing perimeter. A support rib or a different distance from the light source may change their appearance. Address the optical layout and key construction together rather than changing the legend alone to compensate for an obstruction beneath it.
Keep the underside and visible face clean during fitting so residue does not alter appearance or contact. Avoid scratching the engraved region with assembly tools. If the layout changes, repeat the optical assessment with the revised housing and lighting positions rather than judging a replacement key in isolation. During service, use compatible cleaning methods and correct any panel edge that rubs the surface before fitting a new molded component.
Photos illustrate structure or material only. Address the optical layout and key construction together rather than changing the legend alone to compensate for an obstruction beneath it. ETOL directly manufactures custom-shaped silicone and rubber parts to your requirements.
Identify key dimensions, mating surfaces and quantity
Agree the compound and manufacturing approach
Review the fit and agreed requirements in the assembly
Manufacture and check against the approved requirements
Identify temperature, contact fluids and repeated movement.
Consider hardness together with wall thickness and support.
Check access, mating dimensions and the fitting sequence.
Yes. Show the receiving opening, contact surfaces and clearance limits. We can review the dimensions and retaining features around the intended fit.
Agree the critical dimensions, material, hardness, visible surfaces and sample requirements. Explain how the part is installed and which interfaces control its function.
A sample can help explain the structure. Compare it with the assembly because wear, swelling or compression may have changed its original dimensions.
The material, part geometry, tooling, quantity and finishing affect the quotation. Include the intended batch size and delivery destination when describing your requirements.
DISCUSS THIS COMPONENT
Share the fit, operating conditions and quantity with our manufacturing team.
EXPLORE RELATED DESIGNS
Explore similar part structures and applications for your next project.