Working conditions
Identify temperature, contact fluids and repeated movement.

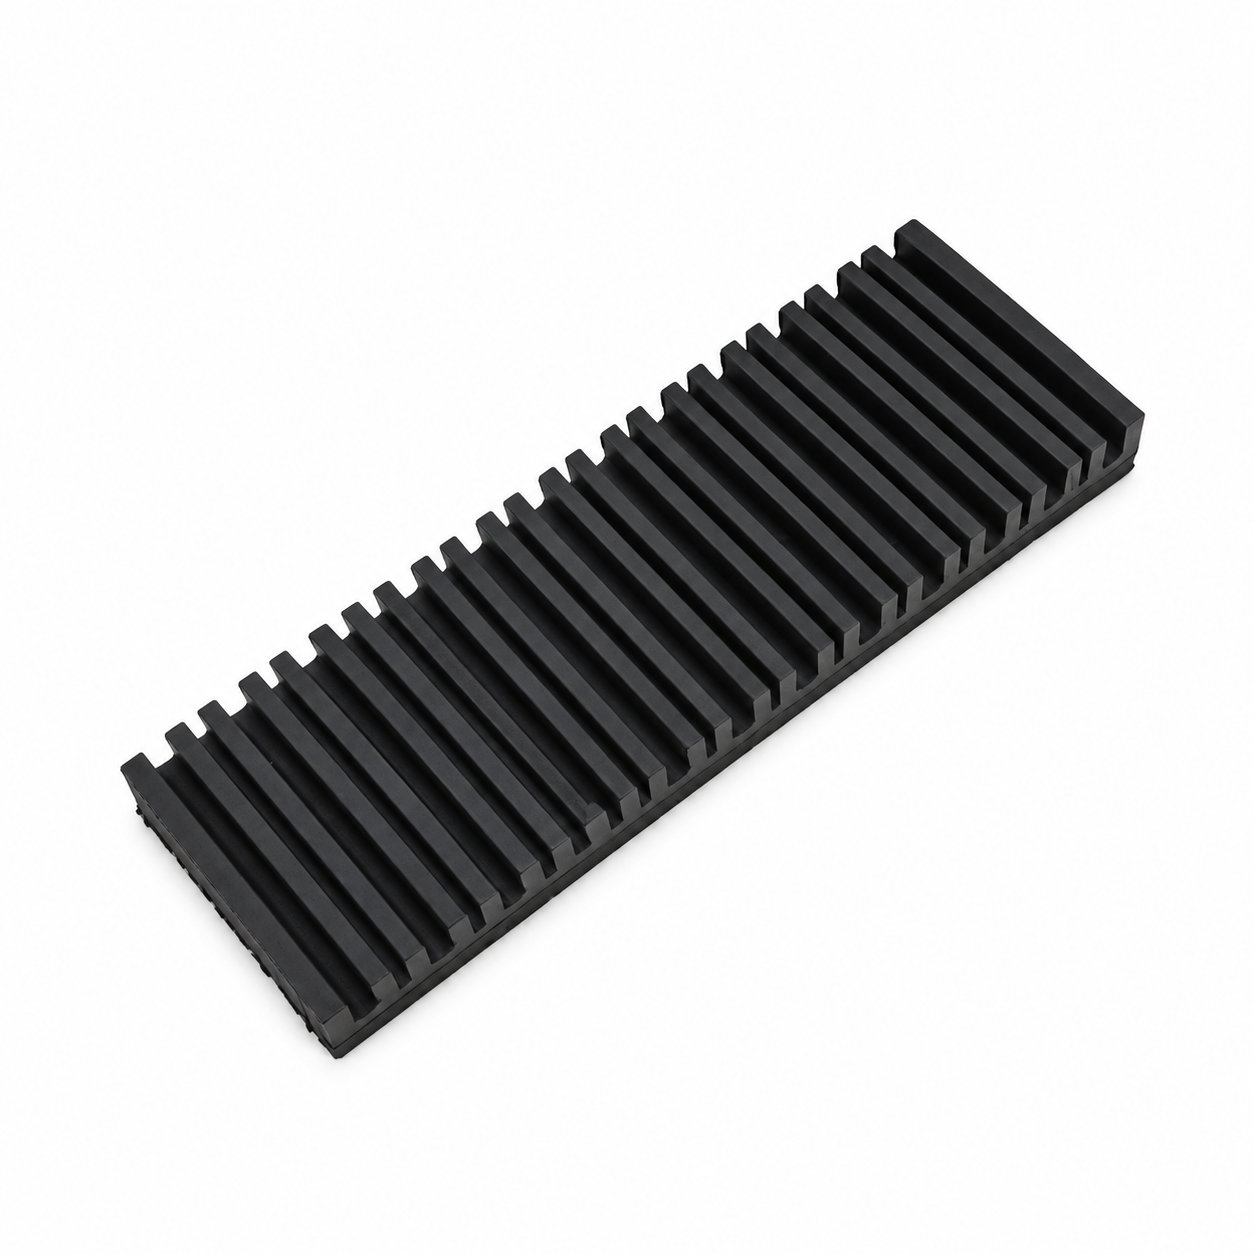
Custom manufacturing example · Adhesive Backed Rubber Strips Rubber Bumper
CUSTOM RUBBER & SILICONE MANUFACTURING
A custom component for your assembly.
Define the mating surfaces, dimensions and working conditions. ETOL manufactures the part to the agreed design and material.
Share the part, its application and your estimated quantity.
Selected for the contact, temperature and movement
Define the visible surfaces and intended color
Develop holes, lips and walls around the mating parts
Match the attachment and installation method
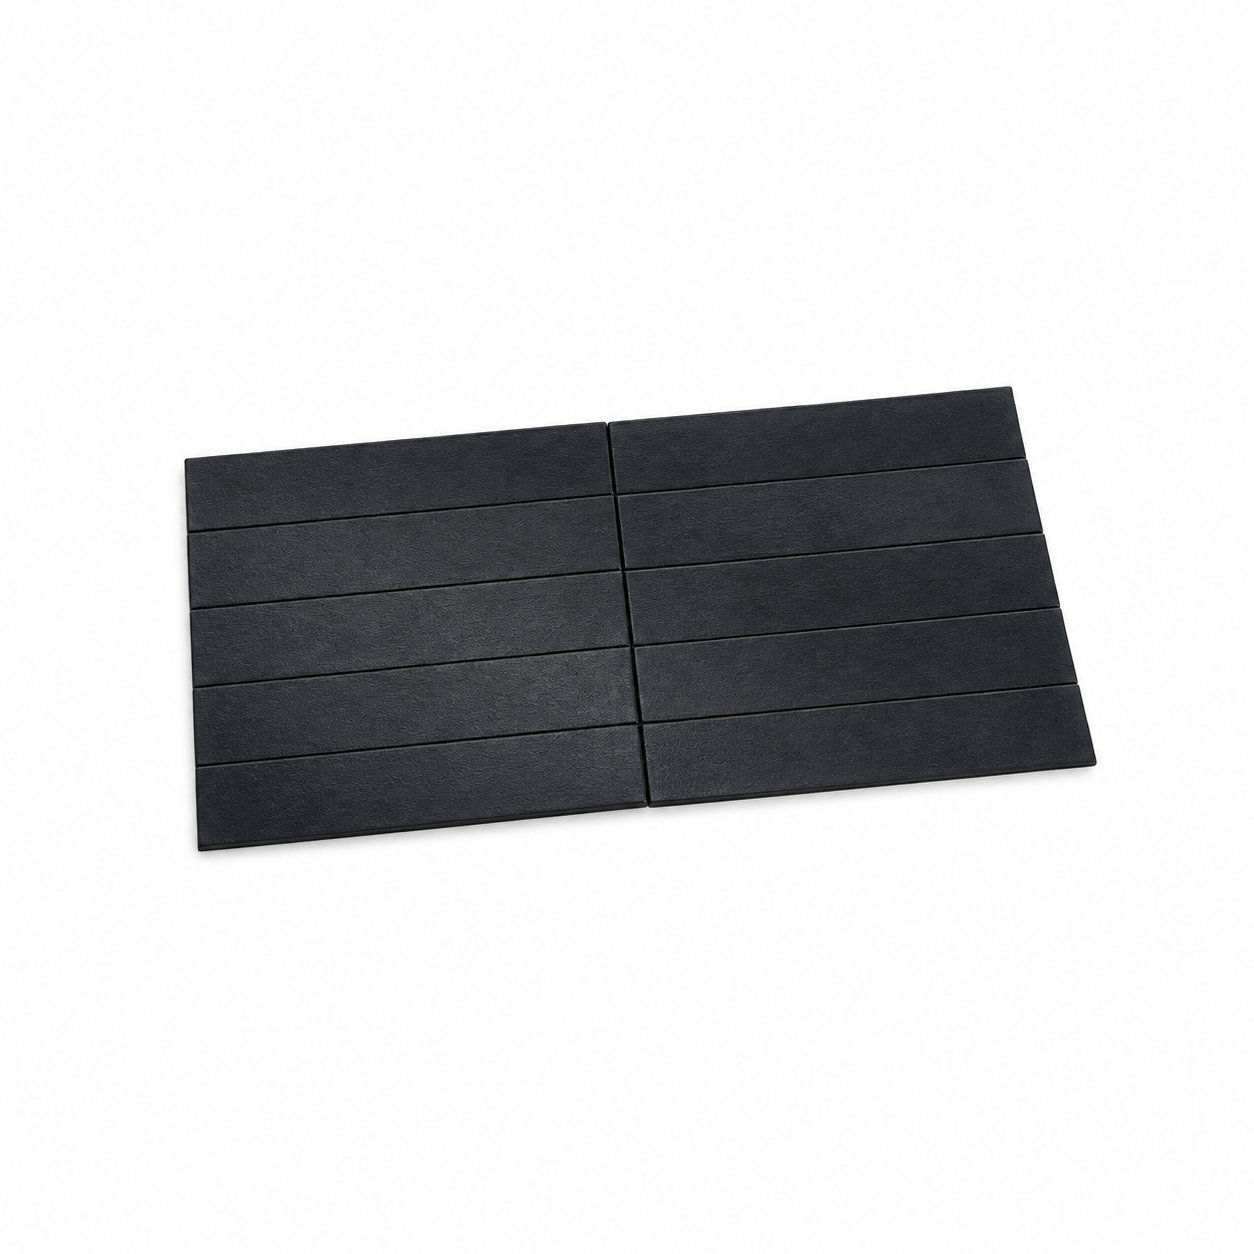
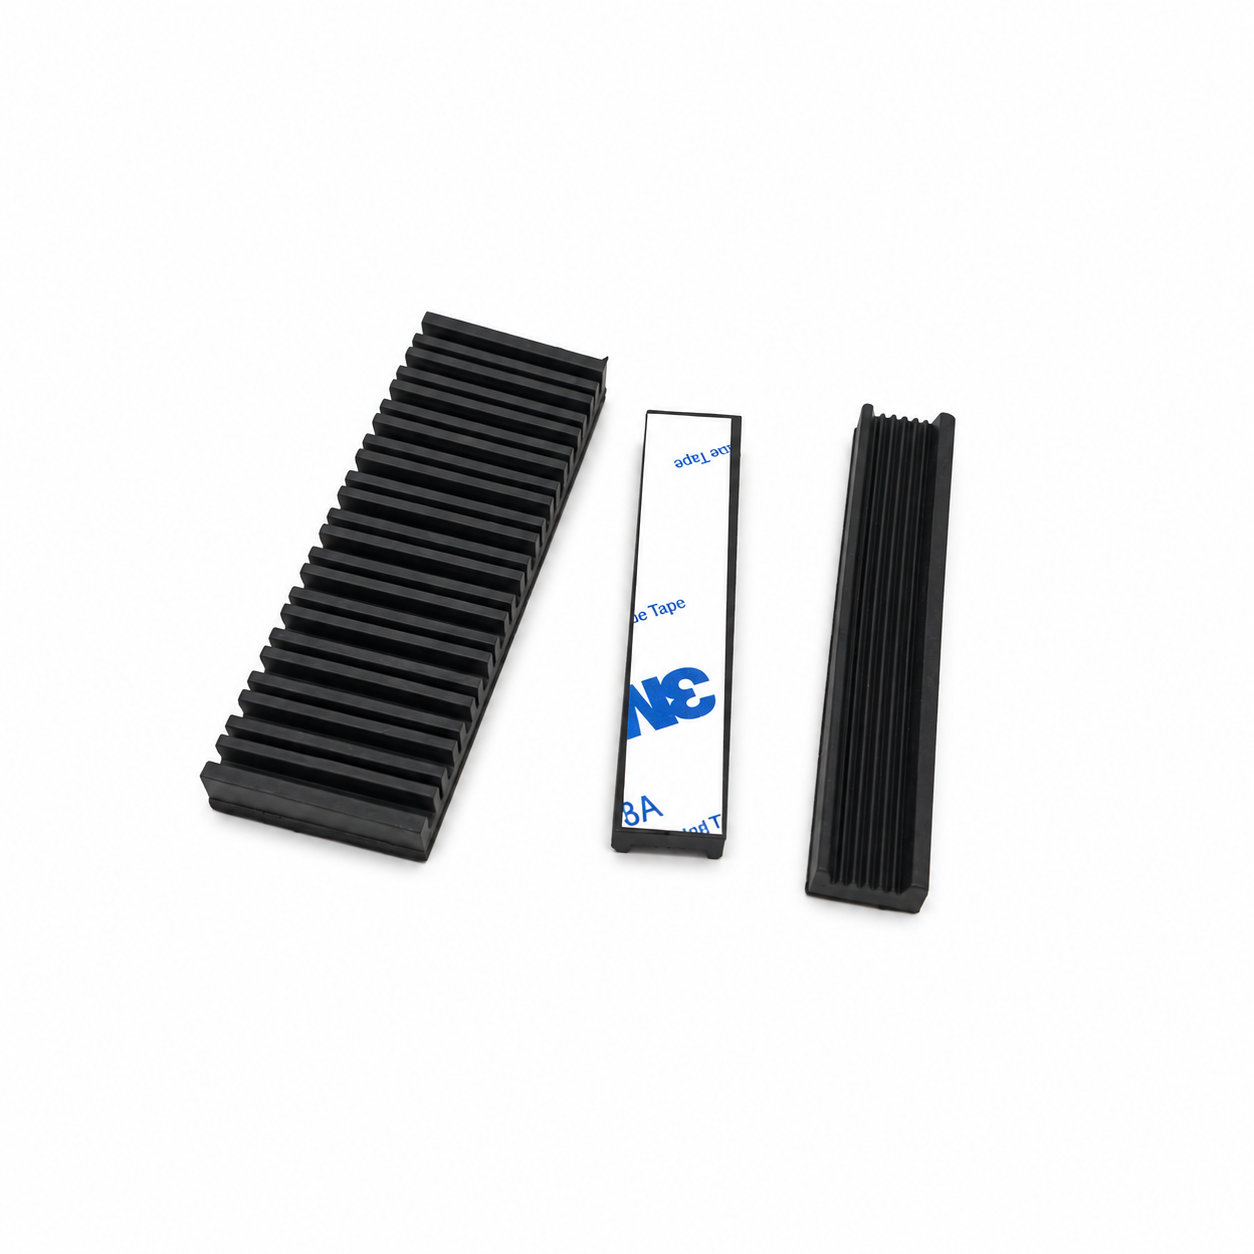
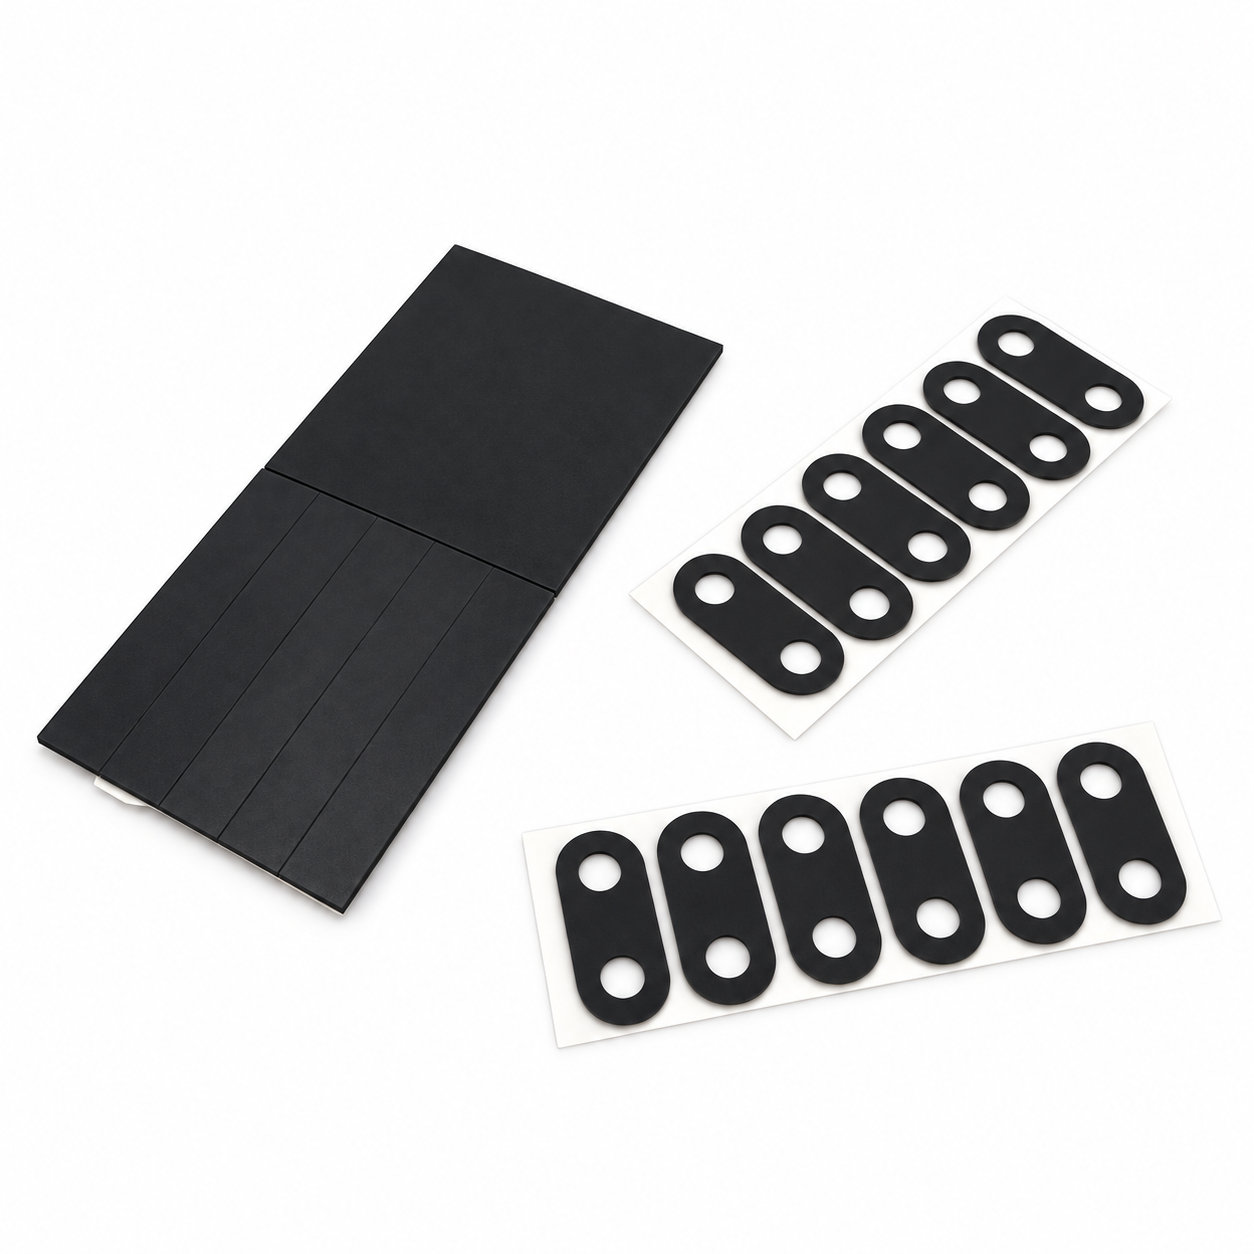
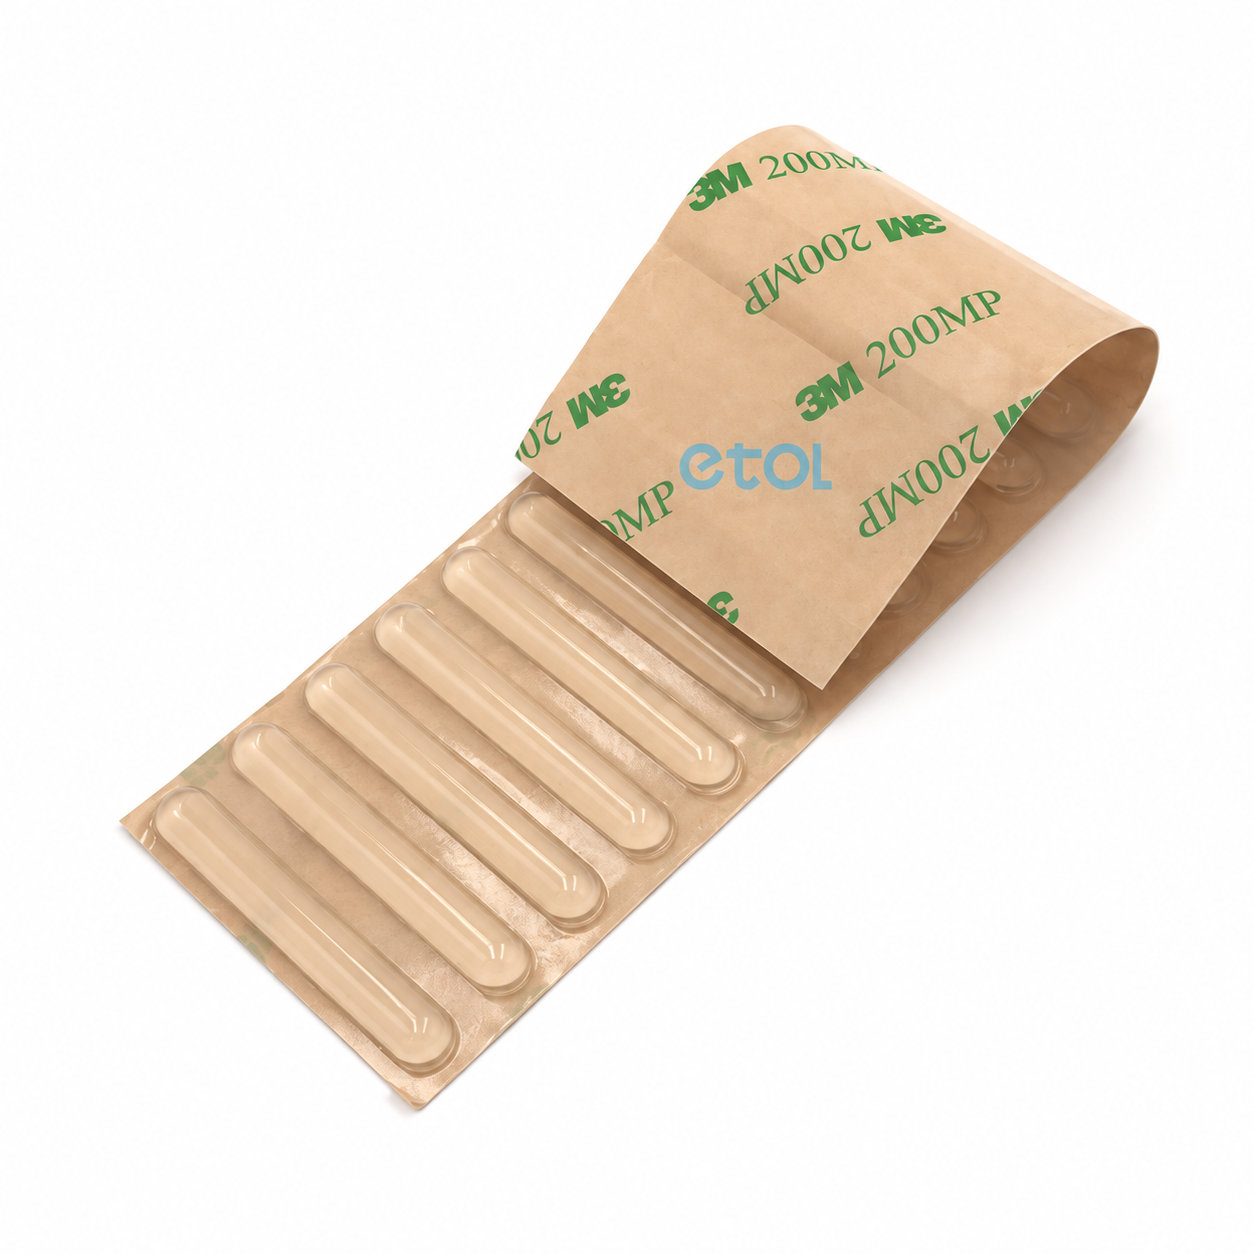
Adhesive backed rubber bumper strips provide a continuous contact along an edge or other selected area. The strip can act as a bumper where two parts would otherwise meet directly. Its length, section, compound and color can be customized to follow the assembly. ETOL supplies custom strips to order; the required section and overall length define the piece before its backing is selected.
Plan the contact path with the mating parts in their working positions. A strip needs enough clearance to compress as intended without preventing closure or leaving nearby areas unsupported. Around a change in direction, choose a layout that lets the rubber lie naturally; pulling it around a tight corner can load the adhesive before the product is used.
Prepare the receiving surface for the selected backing and keep it clear of loose finish or residue. Position the strip progressively without stretching it, maintaining alignment along the contact line. Set application pressure, waiting time and exposure conditions to suit the chosen adhesive system, including its contact with the mounting surface.
Inspect the ends because they are common points for accidental lifting during handling. Keep the bumper face clean and check that repeated contact lands on the rubber rather than catching its edge. When replacing a worn strip, restore the mounting surface before applying the next piece; overlapping old material can change the gap and contact pressure.
Photos illustrate structure or material only. A strip needs enough clearance to compress as intended without preventing closure or leaving nearby areas unsupported. ETOL directly manufactures custom-shaped silicone and rubber parts to your requirements.
Identify key dimensions, mating surfaces and quantity
Agree the compound and manufacturing approach
Review the fit and agreed requirements in the assembly
Manufacture and check against the approved requirements
Identify temperature, contact fluids and repeated movement.
Consider hardness together with wall thickness and support.
Check access, mating dimensions and the fitting sequence.
Yes. Show the receiving opening, contact surfaces and clearance limits. We can review the dimensions and retaining features around the intended fit.
Agree the critical dimensions, material, hardness, visible surfaces and sample requirements. Explain how the part is installed and which interfaces control its function.
A sample can help explain the structure. Compare it with the assembly because wear, swelling or compression may have changed its original dimensions.
The material, part geometry, tooling, quantity and finishing affect the quotation. Include the intended batch size and delivery destination when describing your requirements.
DISCUSS THIS COMPONENT
Share the fit, operating conditions and quantity with our manufacturing team.
EXPLORE RELATED DESIGNS
Explore similar part structures and applications for your next project.