Working conditions
Identify temperature, contact fluids and repeated movement.

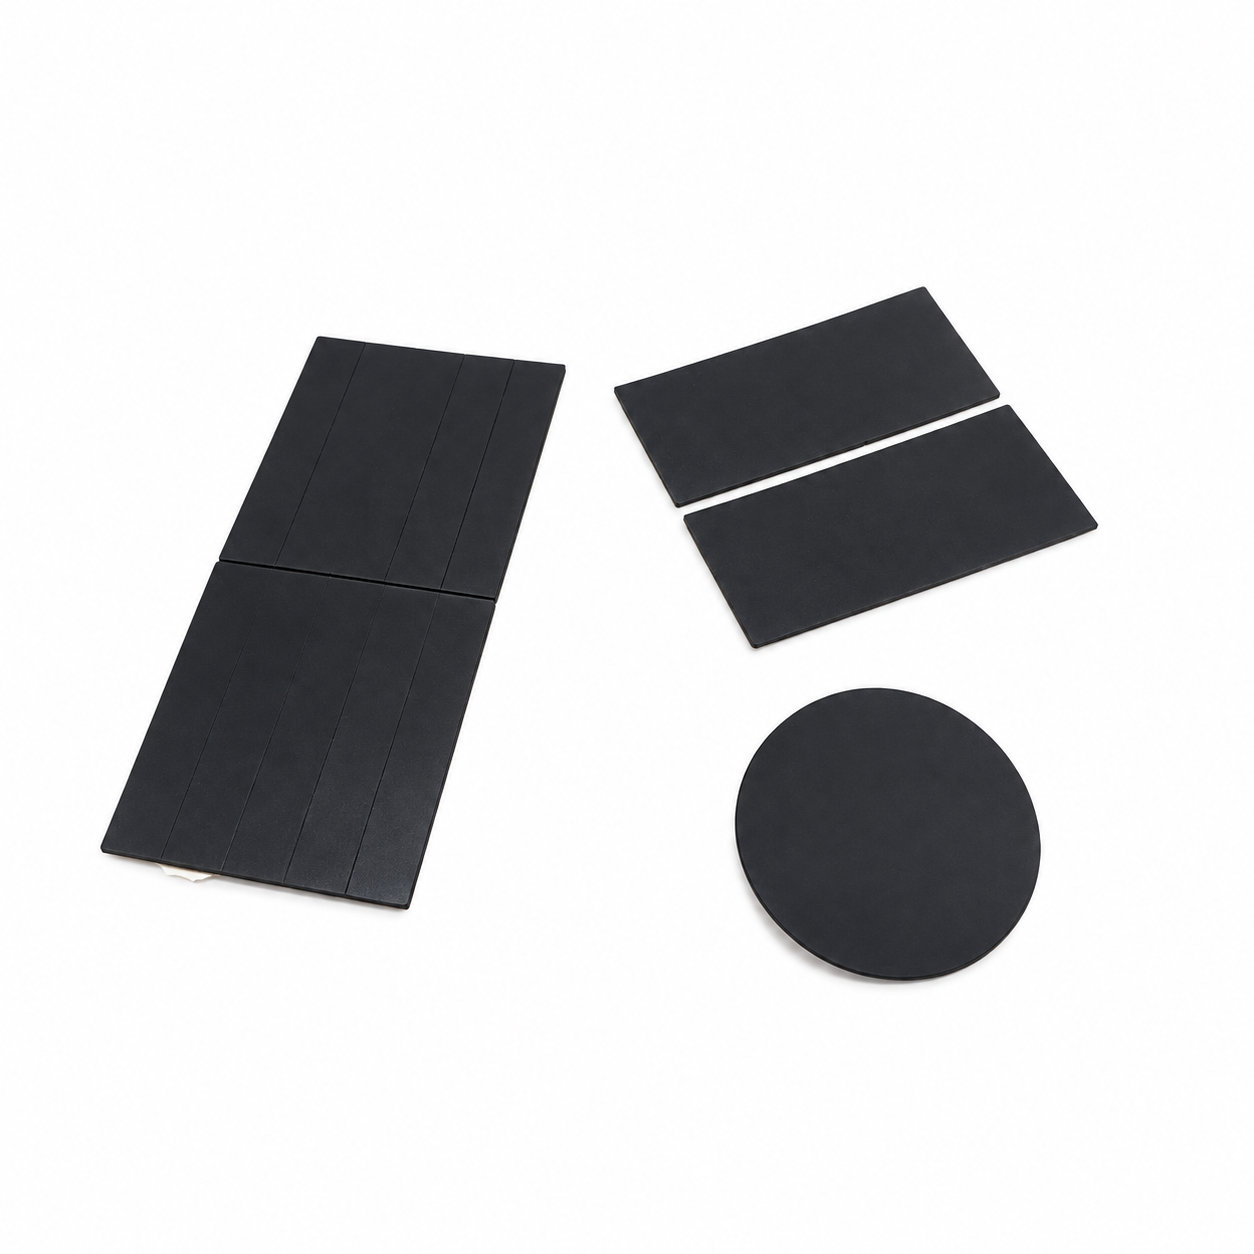
Custom manufacturing example · Self adhesive silicone rubber feet
CUSTOM RUBBER & SILICONE MANUFACTURING
A custom component for your assembly.
Define the mating surfaces, dimensions and working conditions. ETOL manufactures the part to the agreed design and material.
Share the part, its application and your estimated quantity.
Selected for the contact, temperature and movement
Define the visible surfaces and intended color
Develop holes, lips and walls around the mating parts
Match the attachment and installation method
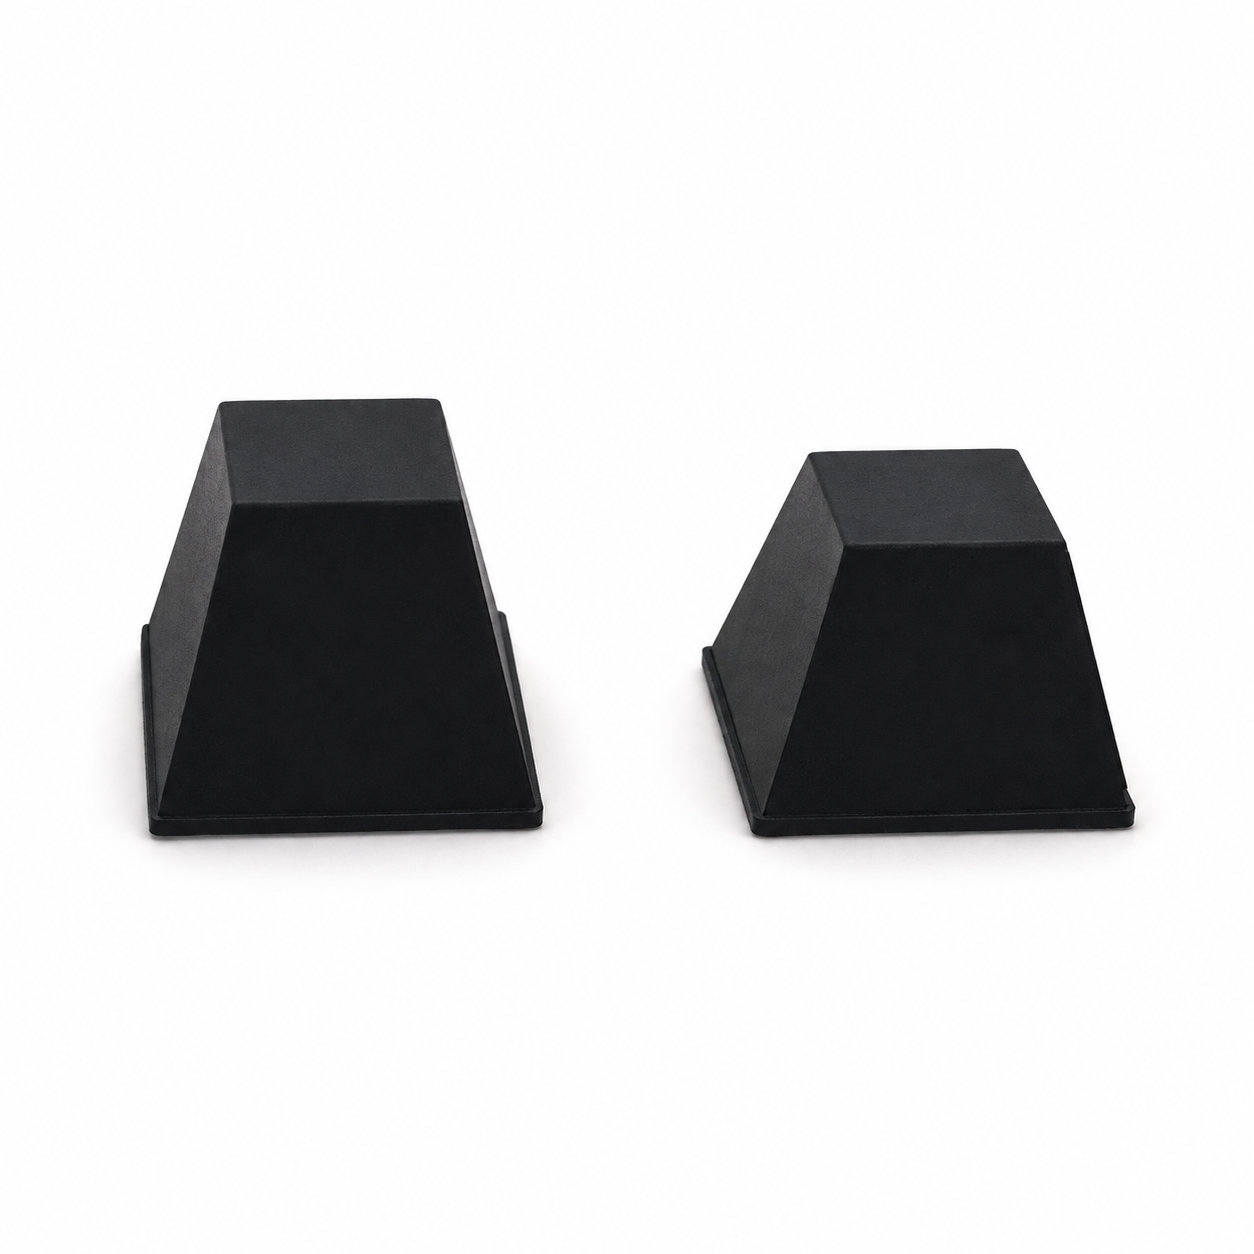
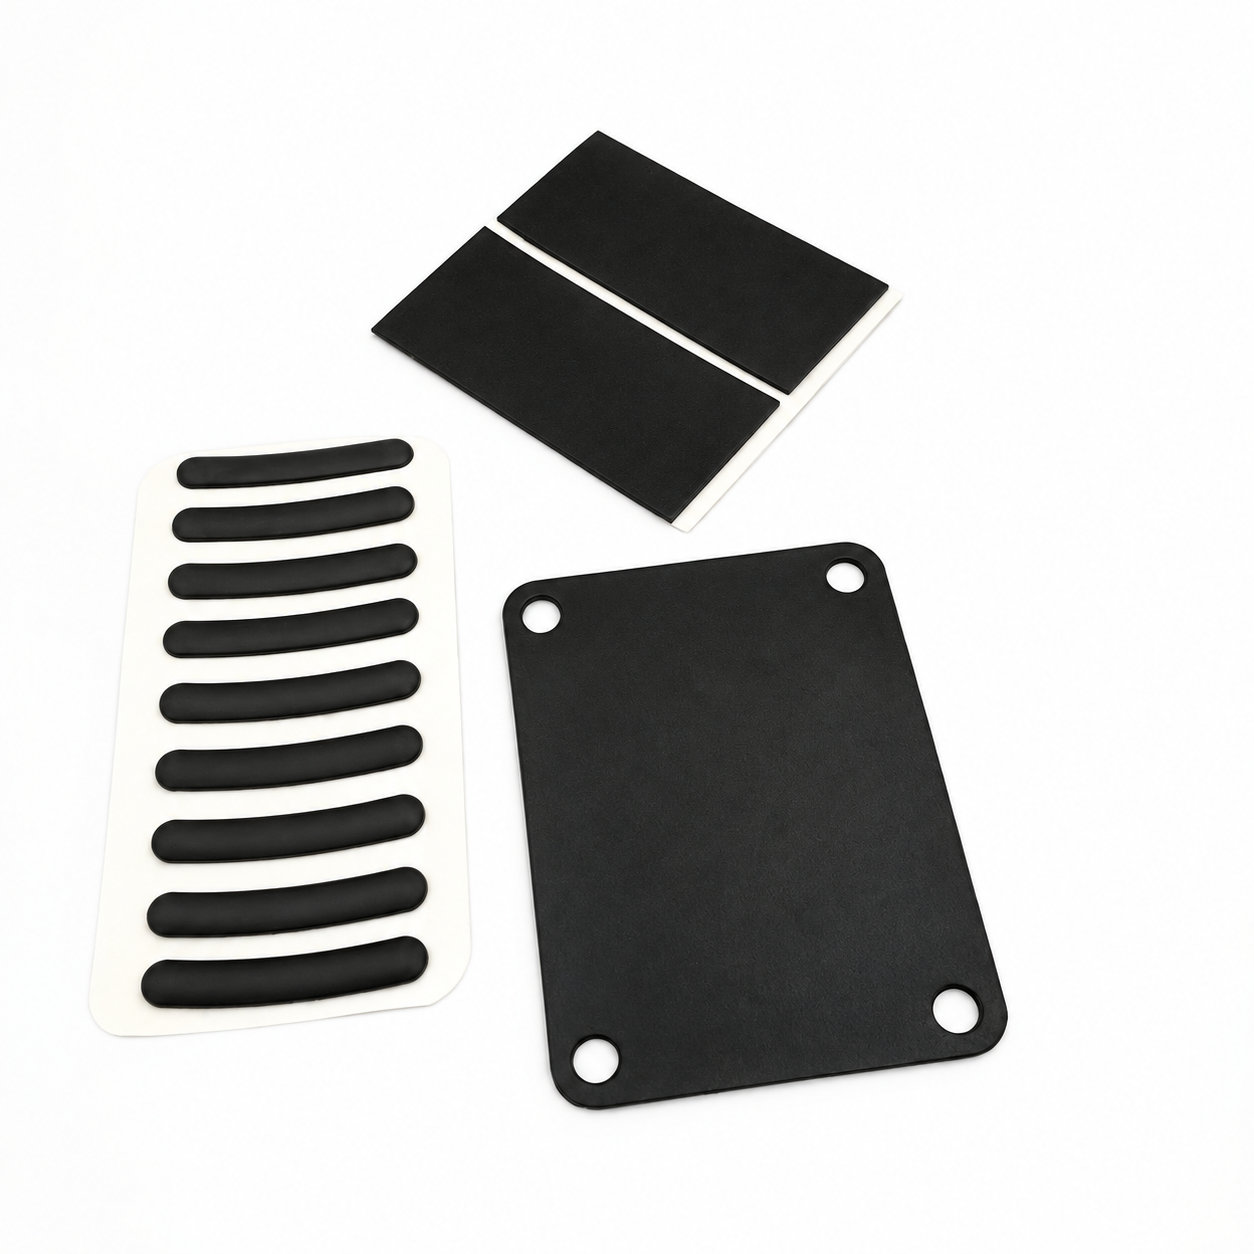
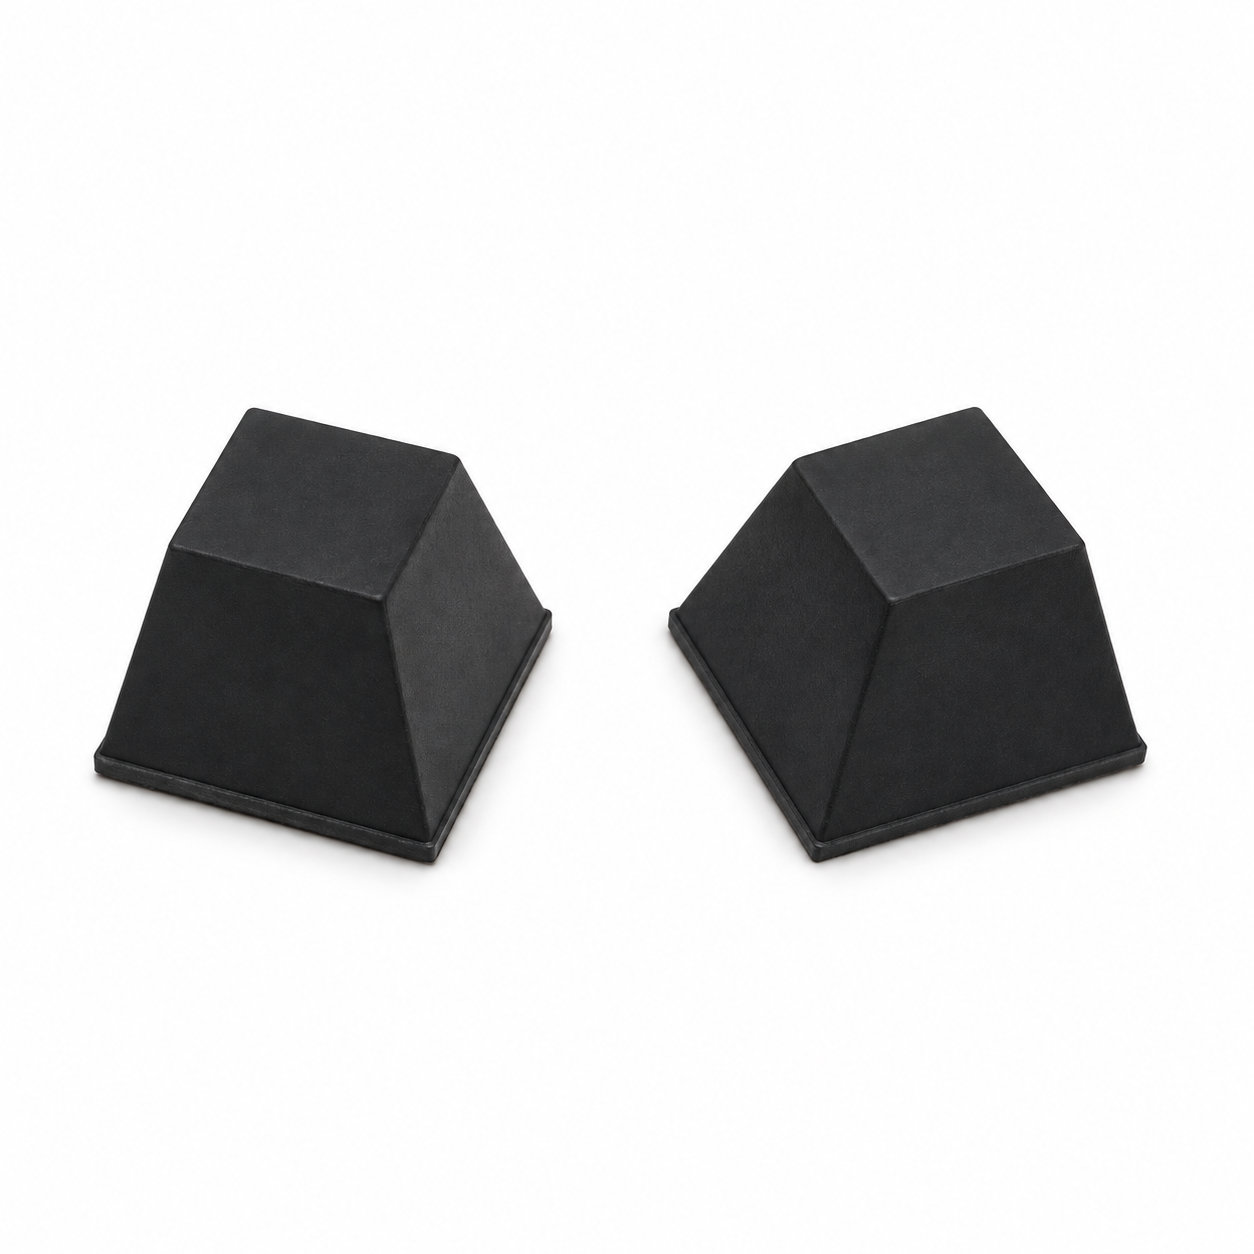
Self-adhesive rubber feet made in silicone offer a way to add designated contact points to a suitable existing housing. The backing allows the foot to be located on a prepared surface, provided that surface and the intended loads are compatible with the selected adhesive. For a retrofit or design revision, the main task is to find positions that support the product without covering features already present on its underside. ETOL makes these adhesive feet to order around the housing footprint and the required contact height.
Inspect the housing for vents, labels, screws, seams and access panels before drawing the new foot layout. Check the flat area available for each bond and the clearance the added height creates around connectors or adjacent parts. If the original product already has supports, decide whether the new feet replace them or change the entire arrangement. Mixing heights without reviewing the base can leave some supports unloaded.
ETOL can discuss custom shape, dimensions, compound, color and hardness. Share photographs of the actual housing finish and identify its material so the backing can be reviewed. An existing coating may need particular preparation, and the available space may limit the useful bonding area. Sample approval should include both attachment and the resulting position of the product on its normal surface.
Install self adhesive silicone rubber feet using the agreed layout and backing instructions. Avoid placing a pad partly across a seam or over a surface feature that prevents full contact. After the specified settling period, check the product for stability and confirm that maintenance access remains practical. Examine the bonds after representative handling and do not assume that removing a pad leaves a surface ready for immediate reuse. Keep the revised underside layout with the part specification so later repairs reproduce the approved positions rather than applying replacement feet wherever space appears available.
Photos illustrate structure or material only. The backing allows the foot to be located on a prepared surface, provided that surface and the intended loads are compatible with the selected adhesive. ETOL directly manufactures custom-shaped silicone and rubber parts to your requirements.
Identify key dimensions, mating surfaces and quantity
Agree the compound and manufacturing approach
Review the fit and agreed requirements in the assembly
Manufacture and check against the approved requirements
Identify temperature, contact fluids and repeated movement.
Consider hardness together with wall thickness and support.
Check access, mating dimensions and the fitting sequence.
Yes. Show the receiving opening, contact surfaces and clearance limits. We can review the dimensions and retaining features around the intended fit.
Agree the critical dimensions, material, hardness, visible surfaces and sample requirements. Explain how the part is installed and which interfaces control its function.
A sample can help explain the structure. Compare it with the assembly because wear, swelling or compression may have changed its original dimensions.
The material, part geometry, tooling, quantity and finishing affect the quotation. Include the intended batch size and delivery destination when describing your requirements.
DISCUSS THIS COMPONENT
Share the fit, operating conditions and quantity with our manufacturing team.
EXPLORE RELATED DESIGNS
Explore similar part structures and applications for your next project.